Modules on LUMI
Intended audience
As this course is designed for people already familiar with HPC systems. As virtually any cluster nowadays uses some form of module environment, this section assumes that the reader is already familiar with a module environment but not necessarily the one used on LUMI.
Module environments
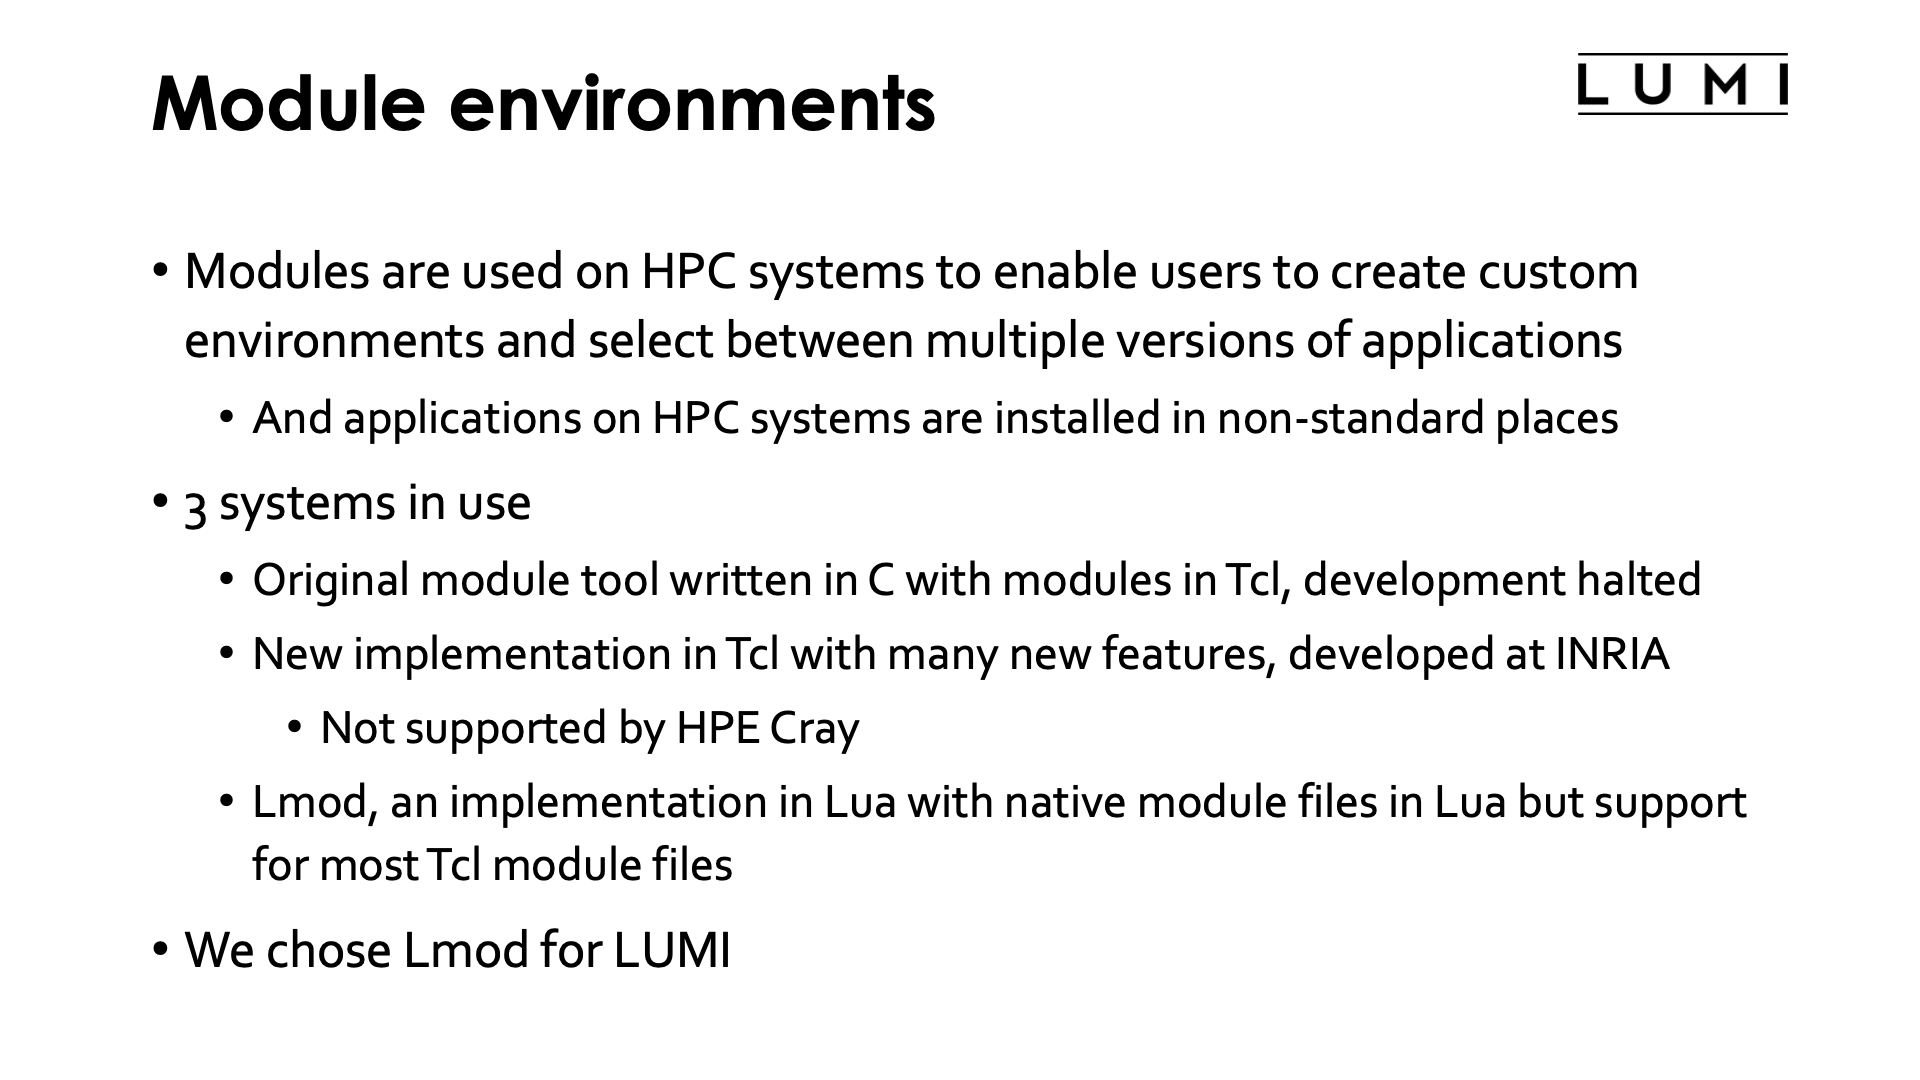
An HPC cluster is a multi-user machine. Different users may need different versions of the same application, and each user has their own preferences for the environment. Hence there is no "one size fits all" for HPC and mechanisms are needed to support the diverse requirements of multiple users on a single machine. This is where modules play an important role. They are commonly used on HPC systems to enable users to create custom environments and select between multiple versions of applications. Note that this also implies that applications on HPC systems are often not installed in the regular directories one would expect from the documentation of some packages, as that location may not even always support proper multi-version installations and as one prefers to have a software stack which is as isolated as possible from the system installation to keep the image that has to be loaded on the compute nodes small.
Another use of modules not mentioned on the slide is to configure the programs that are being activated. E.g., some packages expect certain additional environment variables to be set and modules can often take care of that also.
There are 3 systems in use for module management. The oldest is a C implementation of the commands using module files written in Tcl. The development of that system stopped around 2012, with version 3.2.10. This system is supported by the HPE Cray Programming Environment. A second system builds upon the C implementation but now uses Tcl also for the module command and not only for the module files. It is developed in France at the CÉA compute centre. The version numbering was continued from the C implementation, starting with version 4.0.0. The third system and currently probably the most popular one is Lmod, a version written in Lua with module files also written in Lua. Lmod also supports most Tcl module files. It is also supported by HPE Cray, though they tend to be a bit slow in following versions. The original developer of Lmod, Robert McLay, retired at the end of August 2023, but TACC, the centre where he worked, is committed to at least maintain Lmod though it may not see much new development anymore.
On LUMI we have chosen to use Lmod. As it is very popular, many users may already be familiar with it, though it does make sense to revisit some of the commands that are specific for Lmod and differ from those in the two other implementations.
It is important to realise that each module that you see in the overview corresponds to a module file that contains the actual instructions that should be executed when loading or unloading a module, but also other information such as some properties of the module, information for search and help information.
Links
I know Lmod, should I continue?
Lmod is a very flexible tool. Not all sides using Lmod use all features, and Lmod can be configured in different ways to the extent that it may even look like a very different module system for people coming from another cluster. So yes, it makes sense to continue reading as Lmod on LUMI may have some tricks that are not available on your home cluster.
Exploring modules with Lmod
Contrary to some other module systems, or even some other Lmod installations, not all modules are
immediately available for loading. So don't be disappointed by the few modules you will see with
module available right after login. Lmod has a so-called hierarchical setup that tries to protect
you from being confronted with all modules at the same time, even those that may conflict with
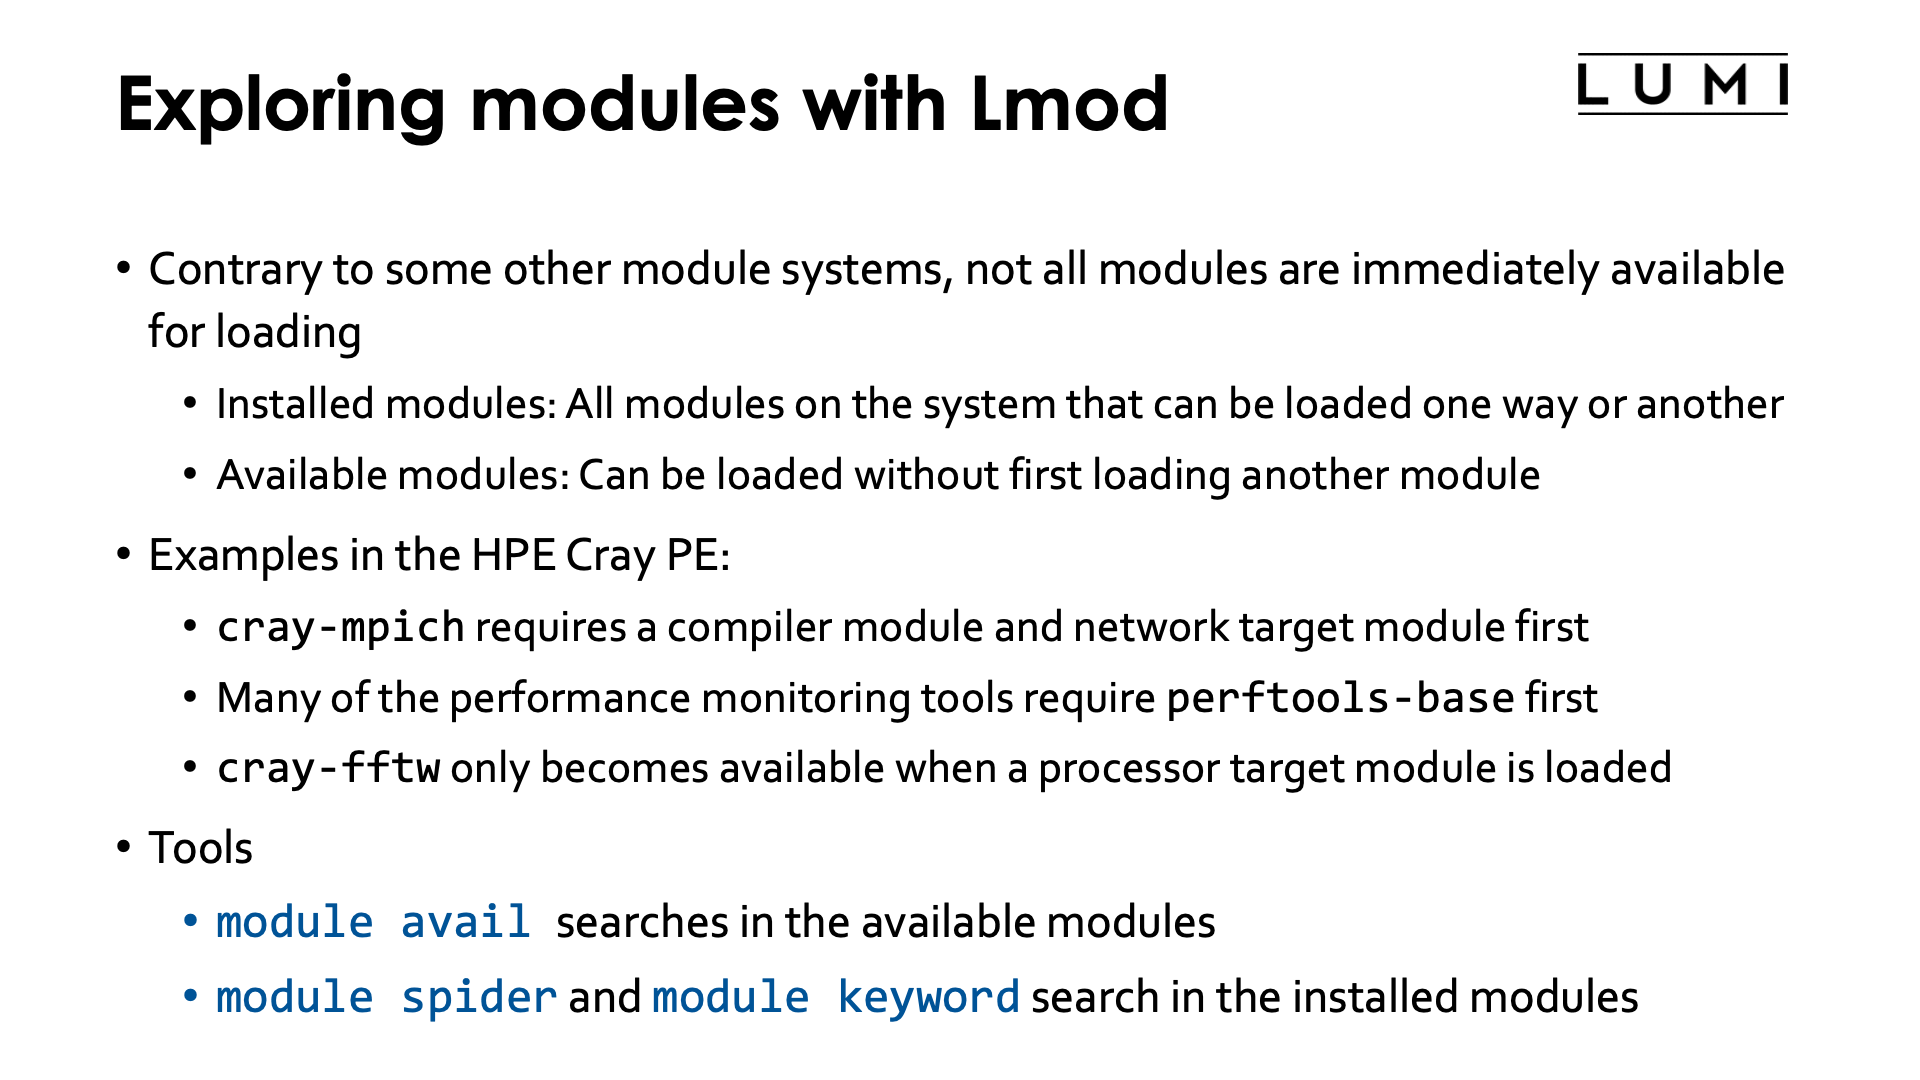
each other, and we use that to some extent on LUMI. Lmod distinguishes between installed modules and
available modules. Installed modules are all modules on the system that can be loaded one way or
another, sometimes through loading other modules first. Available modules are all those modules
that can be loaded at a given point in time without first loading other modules.
The HPE Cray Programming Environment also uses a hierarchy though it is not fully implemented in the way the Lmod developer intended so that some features do not function as they should.
- For example, the
cray-mpichmodule can only be loaded if both a network target module and a compiler module are loaded (and that is already the example that is implemented differently from what the Lmod developer had in mind). - Another example is the performance monitoring tools. Many of those
tools only become available after loading the
perftools-basemodule. - Another example is the
cray-fftwmodule which requires a processor target module to be loaded first.
Lmod has several tools to search for modules.
- The
module availcommand is one that is also present in the various Environment Modules implementations and is the command to search in the available modules. - But Lmod also has other commands,
module spiderandmodule keyword, to search in the list of installed modules.
Benefits of a hierarchy
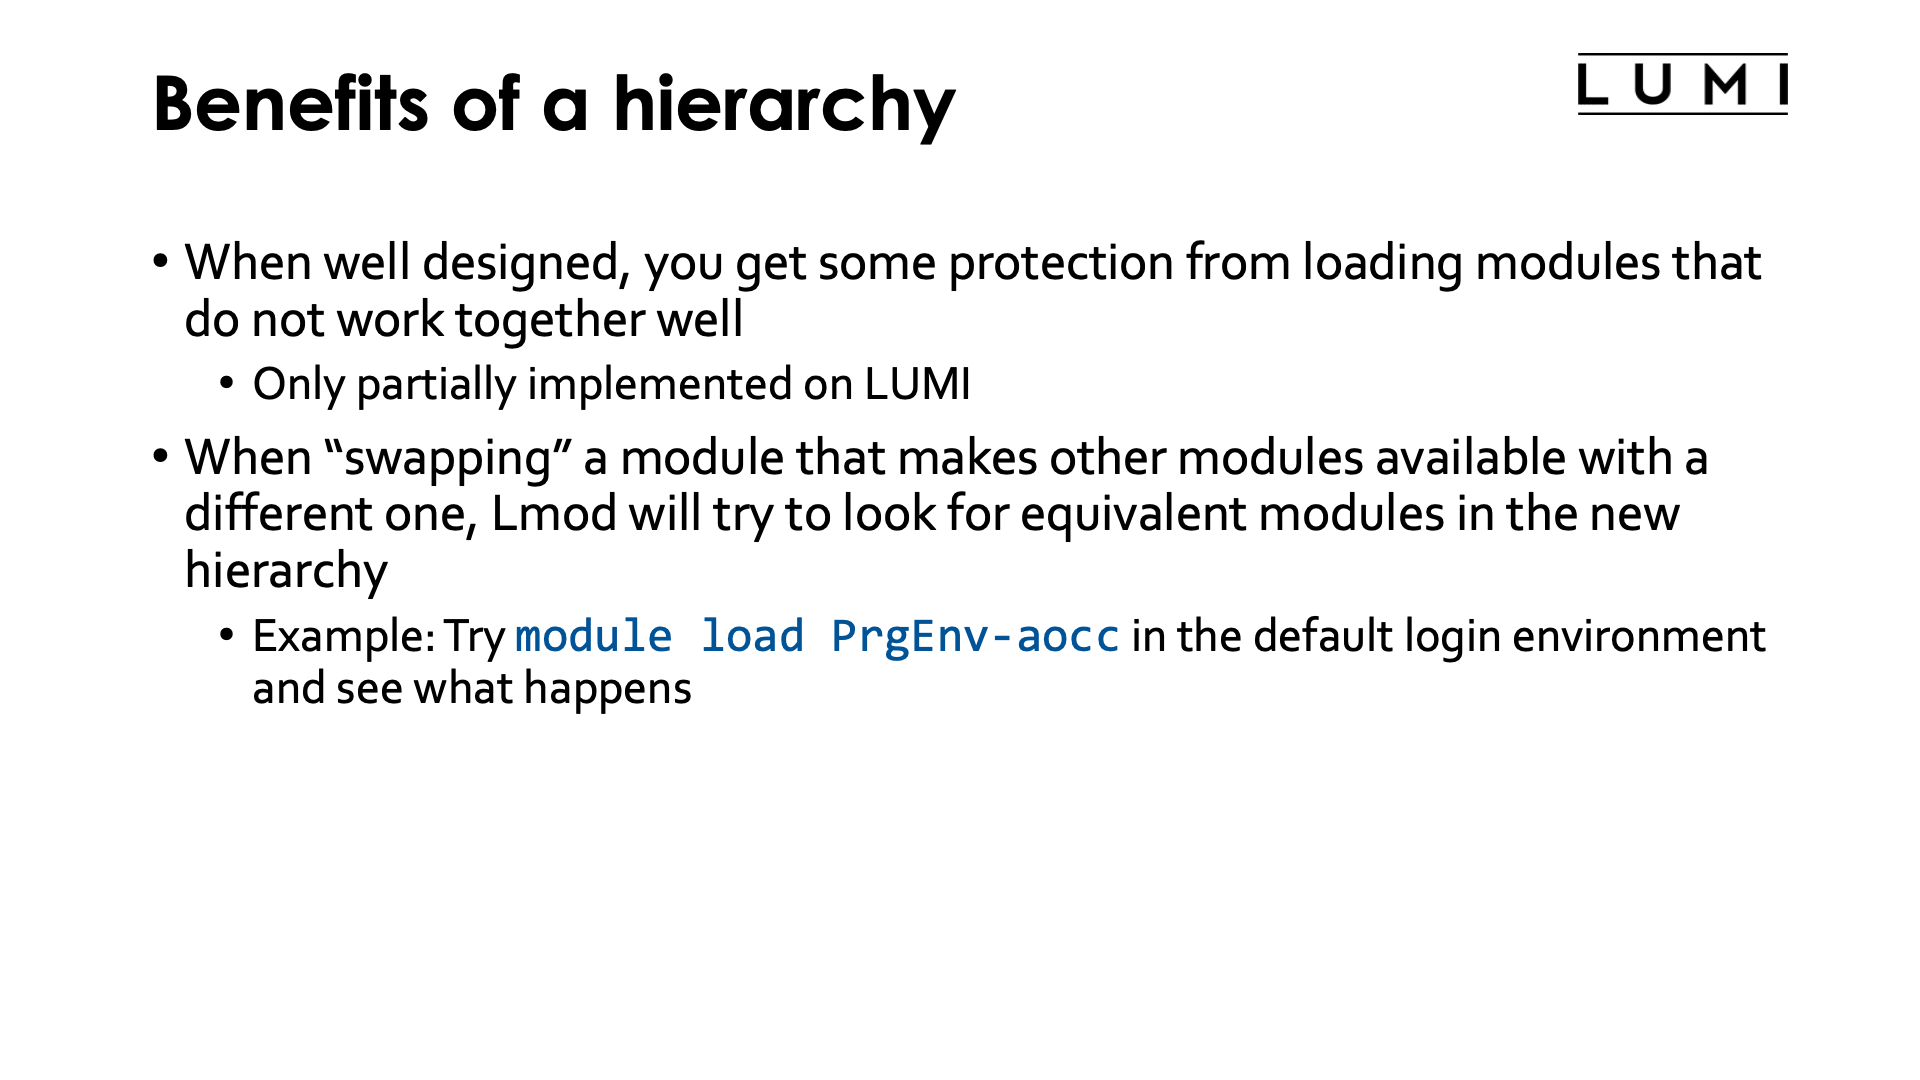
When the hierarchy is well designed, you get some protection from loading modules that do not work together well. E.g., in the HPE Cray PE it is not possible to load the MPI library built for another compiler than your current main compiler. This is currently not exploited as much as we could on LUMI, mainly because we realised at the start that too many users are not familiar enough with hierarchies and would get confused more than the hierarchy helps them.
Another benefit is that when "swapping" a module that makes other modules available with a different one, Lmod will try to look for equivalent modules in the list of modules made available by the newly loaded module.
An easy example (though a tricky one as there are other mechanisms at play also) it to load a different programming environment in the default login environment right after login:
$ module load PrgEnv-aocc
which results in
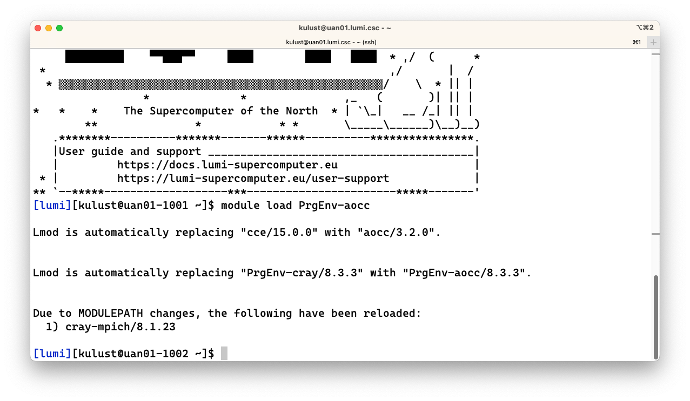
The first two lines of output are due to to other mechanisms that are at work here,
and the order of the lines may seem strange but that has to do with the way Lmod works
internally. Each of the PrgEnv modules hard loads a compiler module which is why Lmod tells
you that it is loading aocc/3.2.0. However, there is also another mechanism at work that
causes cce/15.0.0 and PrgEnv-cray/8.3.3 to be unloaded, but more about that in the next
subsection (next slide).
The important line for the hierarchy in the output are the lines starting with
"Due to MODULEPATH changes...".
Remember that we said that each module has a corresponding module file. Just as binaries
on a system, these are organised in a directory structure, and there is a path, in this
case MODULEPATH, that determines where Lmod will look for module files. The hierarchy is
implemented with a directory structure and the environment variable MODULEPATH, and
when the cce/15.0.0 module was unloaded and aocc/3.2.0 module was loaded, that
MODULEPATH was changed. As a result, the version of the cray-mpich module for the
cce/15.0.0 compiler became unavailable, but one with the same module name for the
aocc/3.2.0 compiler became available and hence Lmod unloaded the version for the
cce/15.0.0 compiler as it is no longer available but loaded the matching one for
the aocc/3.2.0 compiler.
About module names and families
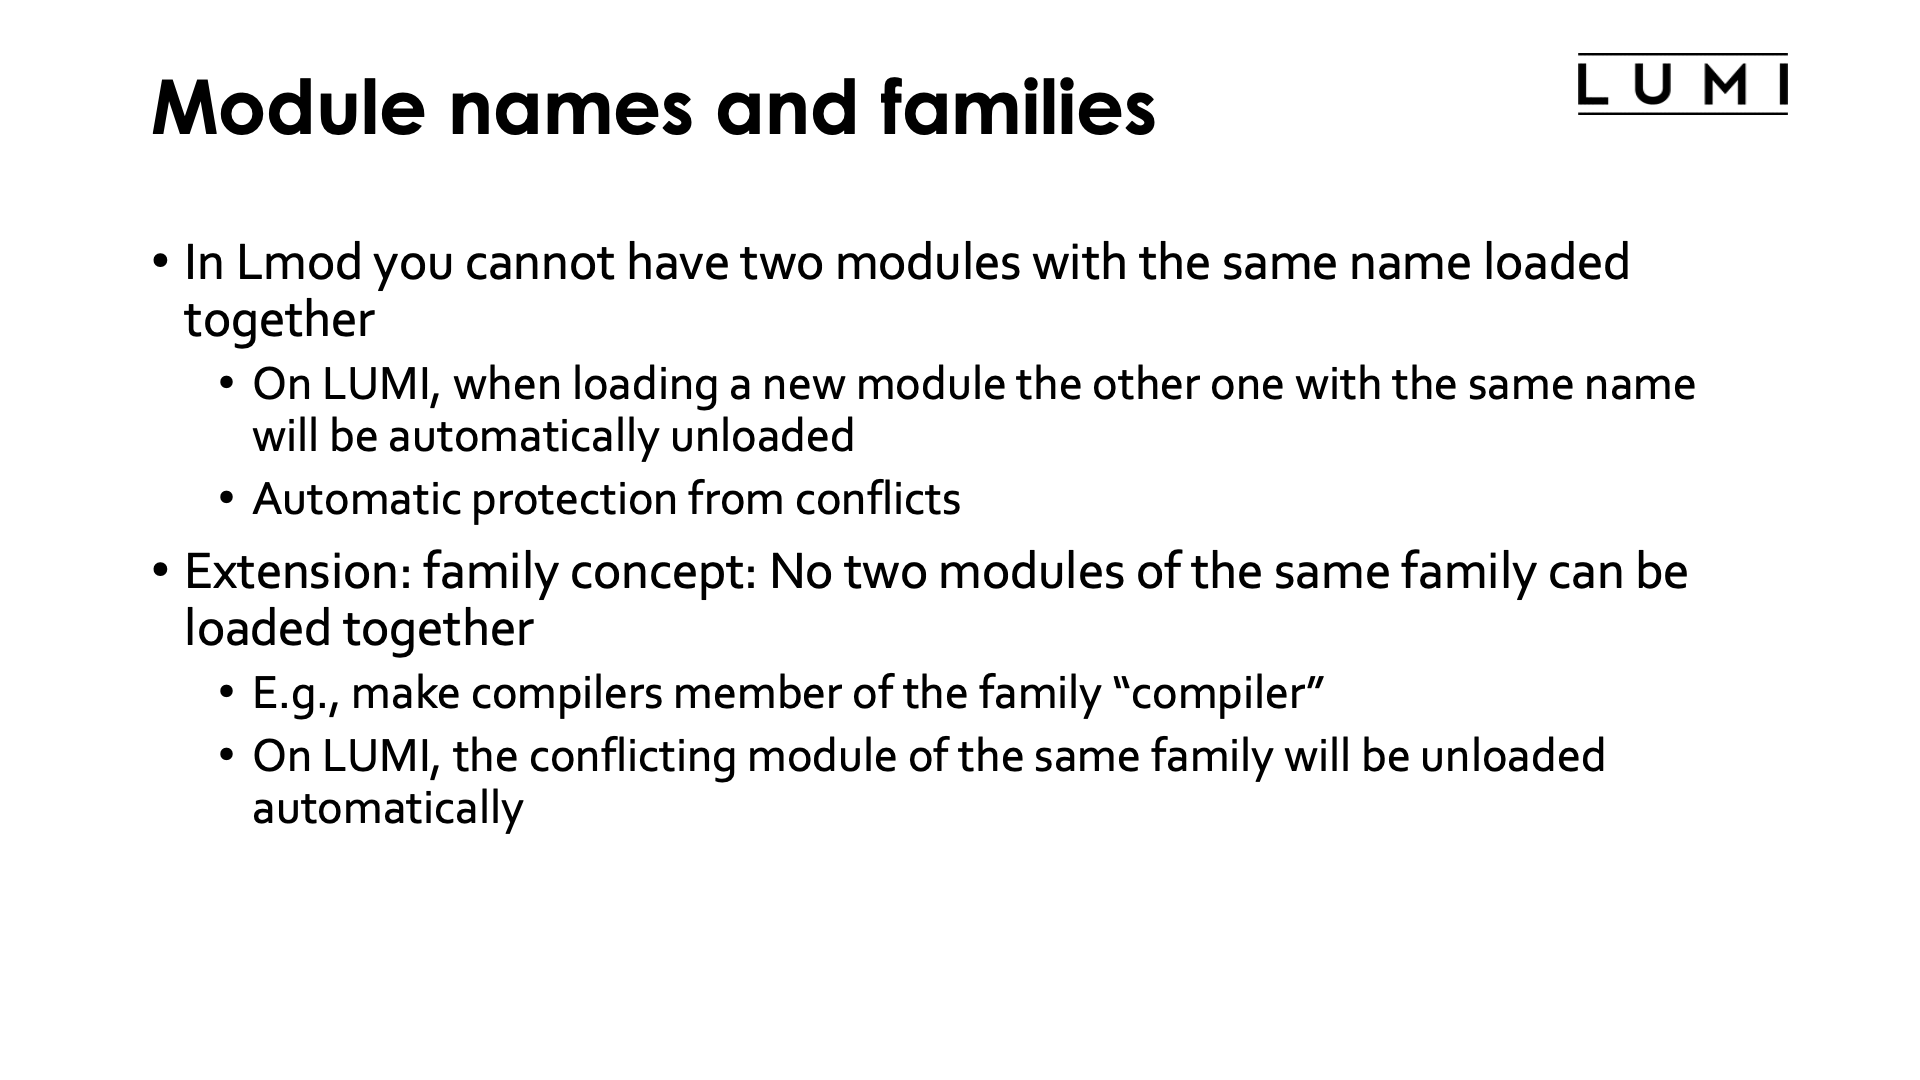
In Lmod you cannot have two modules with the same name loaded at the same time.
On LUMI, when you load a module with the same name as an already loaded module, that
other module will be unloaded automatically before loading the new one. There is
even no need to use the module swap command for that (which in Lmod corresponds
to a module unload of the first module and a module load of the second).
This gives you an automatic protection against some conflicts if the names of the modules
are properly chosen.
Note
Some clusters do not allow the automatic unloading of a module with the same name as the one you're trying to load, but on LUMI we felt that this is a necessary feature to fully exploit a hierarchy.
Lmod goes further also. It also has a family concept: A module can belong to a family
(and at most 1) and no two modules of the same family can be loaded together.
The family property is something that is defined in the module file. It is commonly
used on systems with multiple compilers and multiple MPI implementations to ensure
that each compiler and each MPI implementation can have a logical name without
encoding that name in the version string (like needing to have compiler/gcc-11.2.0
or compiler/gcc/11.2.0
rather than gcc/11.2.0), while still having an easy way to avoid having two
compilers or MPI implementations loaded at the same time.
On LUMI, the conflicting module of the same family will be unloaded automatically
when loading another module of that particular family.
This is shown in the example in the previous subsection (the module load PrgEnv-aocc in
a fresh long shell) in two places. It is the mechanism that unloaded PrgEnv-cray
when loading PrgEnv-aocc and that then unloaded cce/14.0.1 when the
PrgEnv-aocc module loaded the aocc/3.2.0 module.
Note
Some clusters do not allow the automatic unloading of a module of the same family as the one you're trying to load and produce an error message instead. On LUMI, we felt that this is a necessary feature to fully exploit the hierarchy and the HPE Cray Programming Environment also relies very much on this feature being enabled to make live easier for users.
Extensions
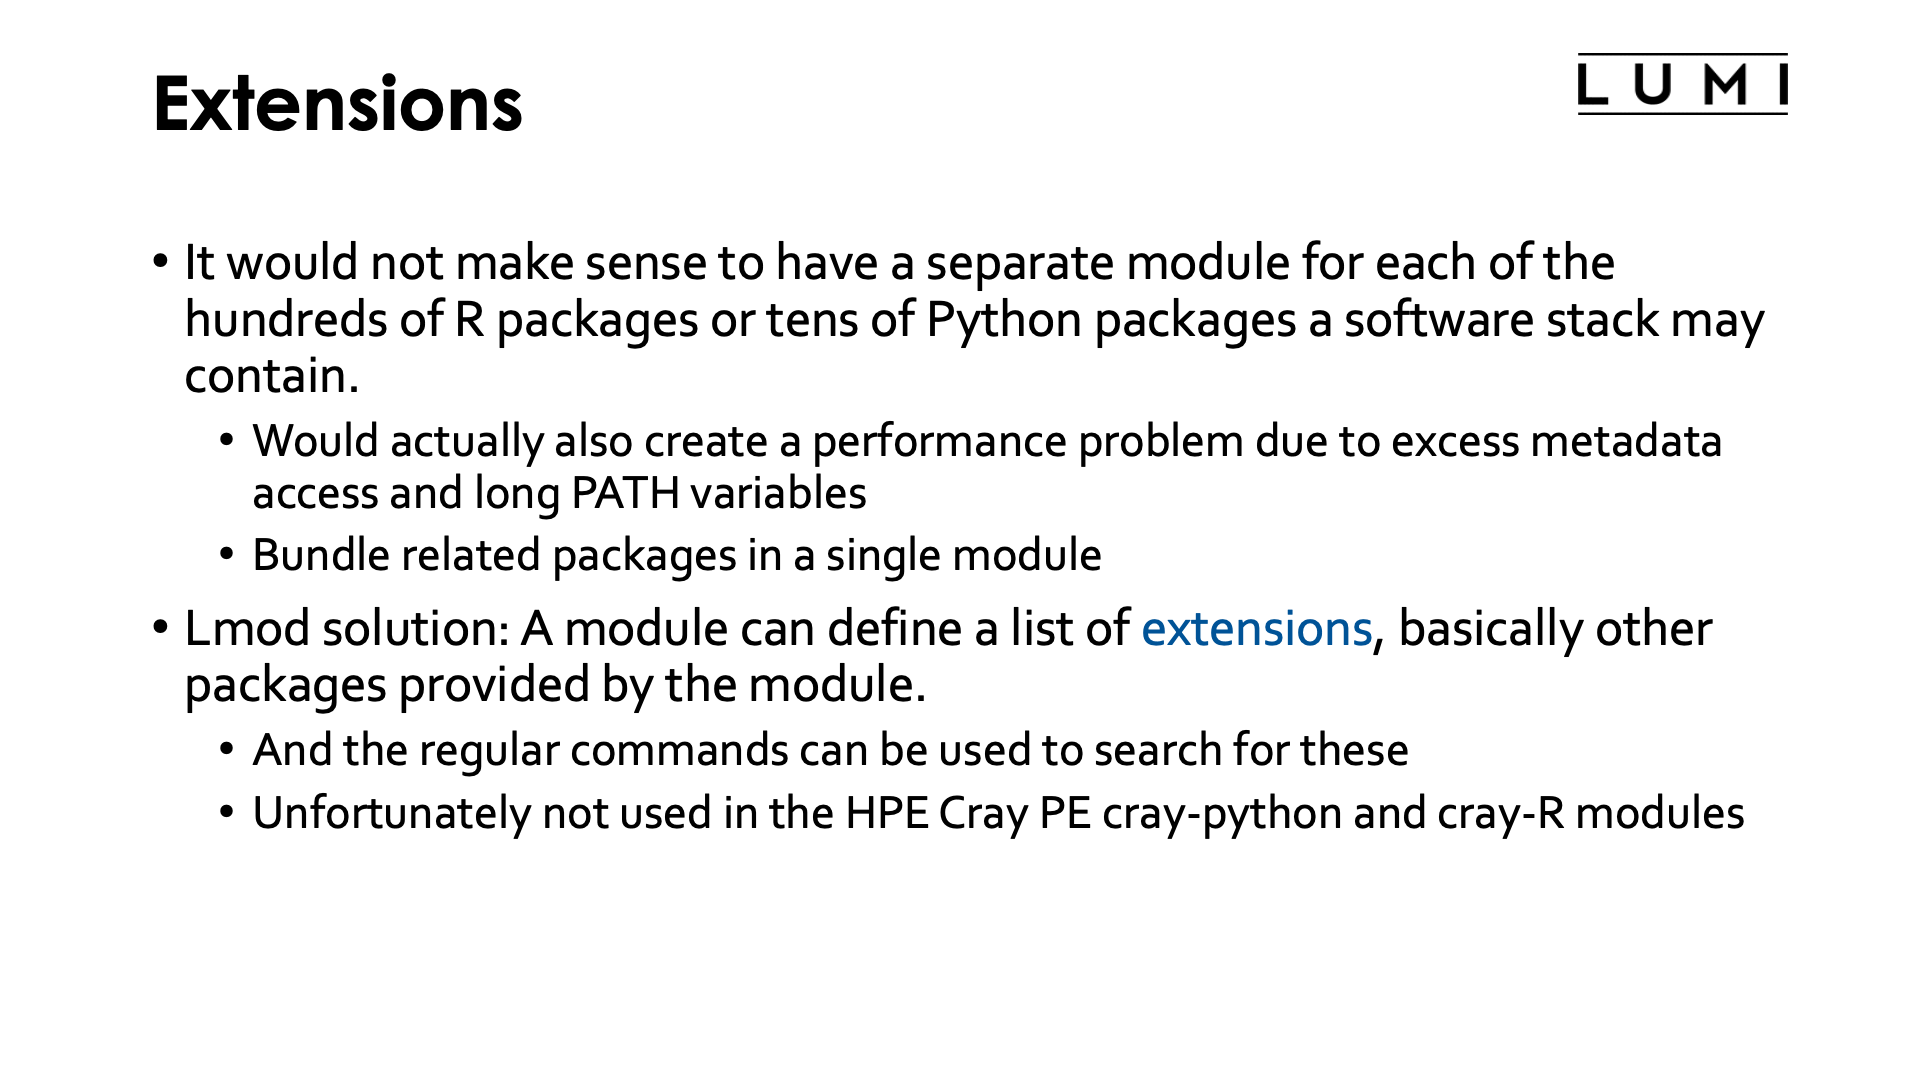
It would not make sense to have a separate module for each of the hundreds of R packages or tens of Python packages that a software stack may contain. In fact, as the software for each module is installed in a separate directory it would also create a performance problem due to excess directory accesses simply to find out where a command is located, and very long search path environment variables such as PATH or the various variables packages such as Python, R or Julia use to find extension packages. On LUMI related packages are often bundled in a single module.
Now you may wonder: If a module cannot be simply named after the package it contains as it contains several ones, how can I then find the appropriate module to load? Lmod has a solution for that through the so-called extension mechanism. An Lmod module can define extensions, and some of the search commands for modules will also search in the extensions of a module. Unfortunately, the HPE Cray PE cray-python and cray-R modules do not provide that information at the moment as they too contain several packages that may benefit from linking to optimised math libraries.
Searching for modules: the module spider command
There are three ways to use module spider, discovering software in more and more detail.
-
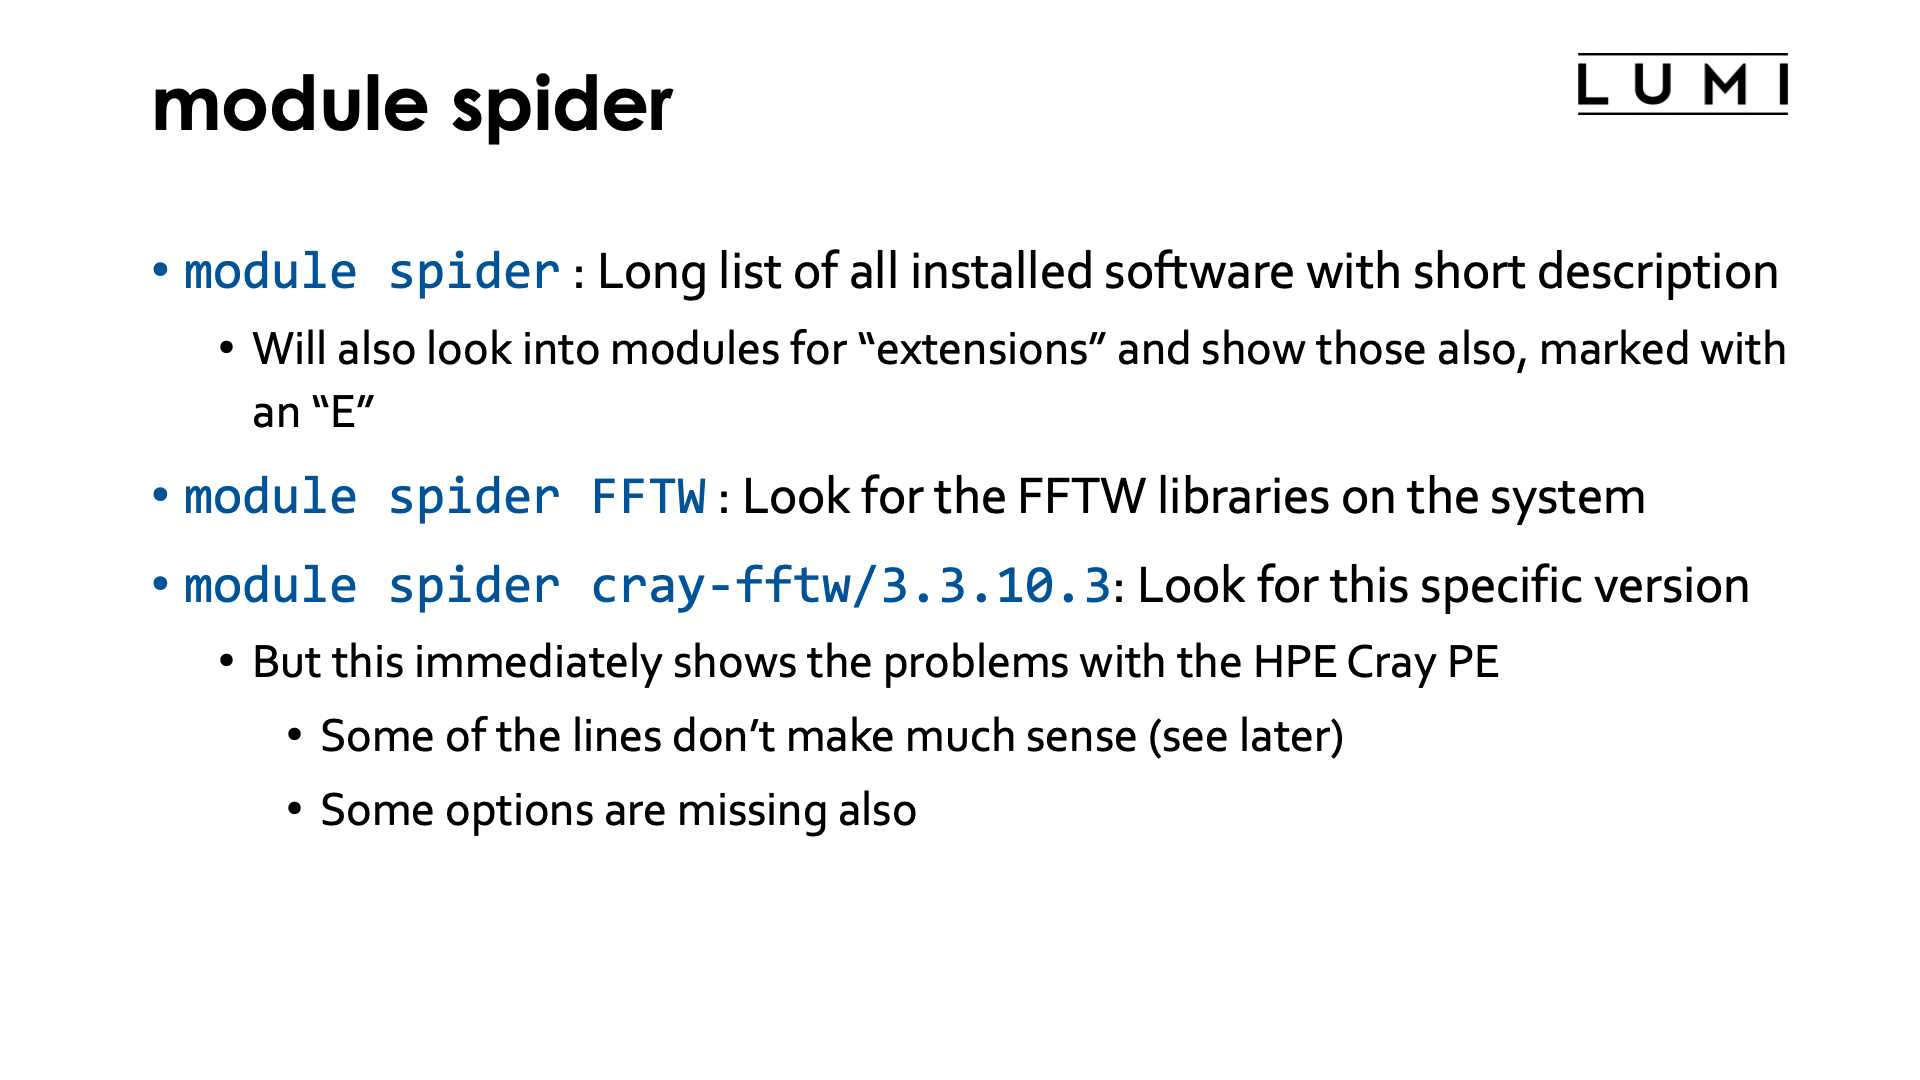
module spiderby itself will show a list of all installed software with a short description. Software is bundled by name of the module, and it shows the description taken from the default version.module spiderwill also look for "extensions" defined in a module and show those also and mark them with an "E". Extensions are a useful Lmod feature to make clear that a module offers features that one would not expect from its name. E.g., in a Python module the extensions could be a list of major Python packages installed in the module which would allow you to findNumPyif it were hidden in a module with a different name. This is also a very useful feature to make tools that are bundled in one module to reduce the module clutter findable. -
module spiderwith the name of a package will show all versions of that package installed on the system. This is also case-insensitive. The spider command will not only search in module names for the package, but also in extensions of the modules and so will be able to tell you that a package is delivered by another module. See Example 4 below where we will search for the CMake tools. -
The third use of
module spideris with the full name of a module. This shows two kinds of information. First it shows which combinations of other modules one might have to load to get access to the package. That works for both modules and extensions of modules. In the latter case it will show both the module, and other modules that you might have to load first to make the module available. Second it will also show help information for the module if the module file provides such information.
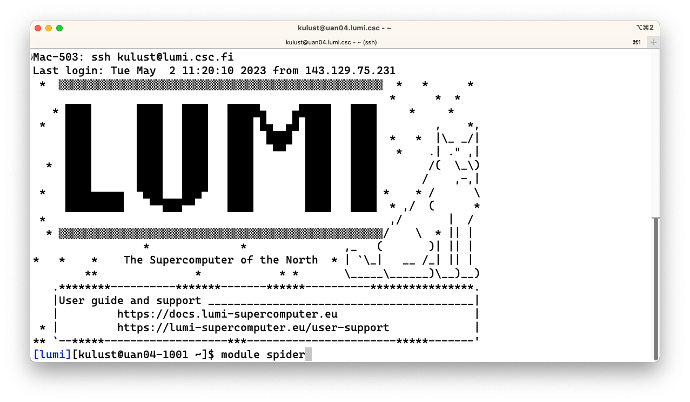
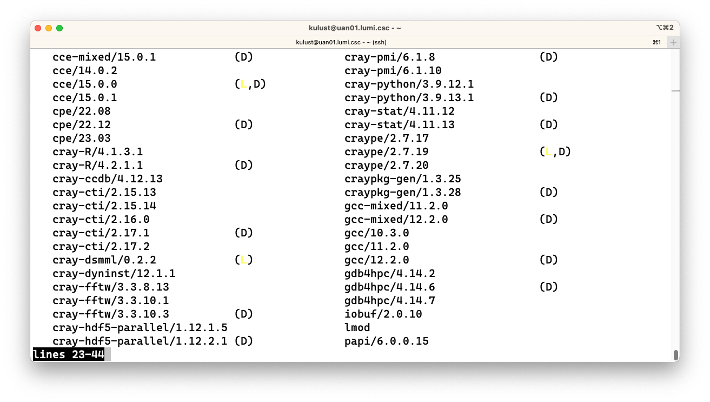
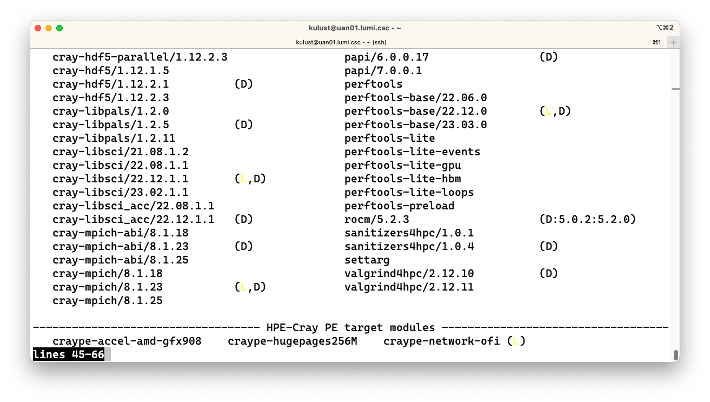
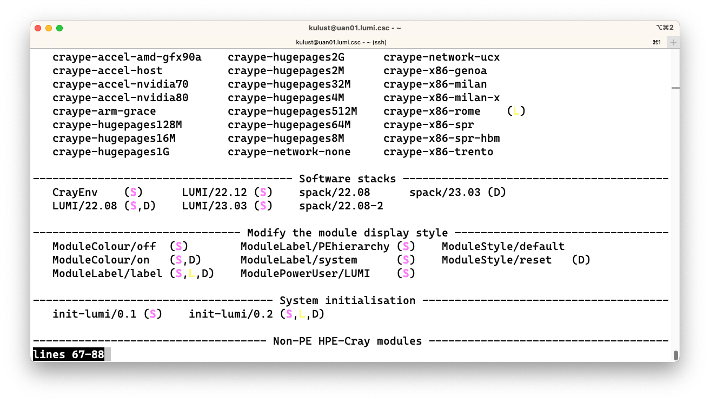
Example 1: Running module spider on LUMI
Let's first run the module spider command. The output varies over time, but at the time of writing,
and leaving out a lot of the output, one would have gotten:
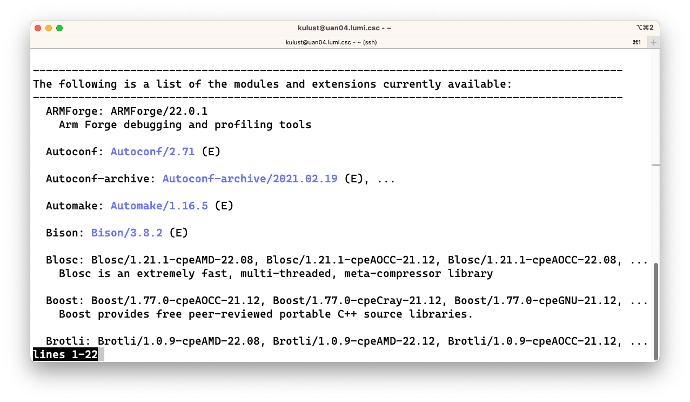
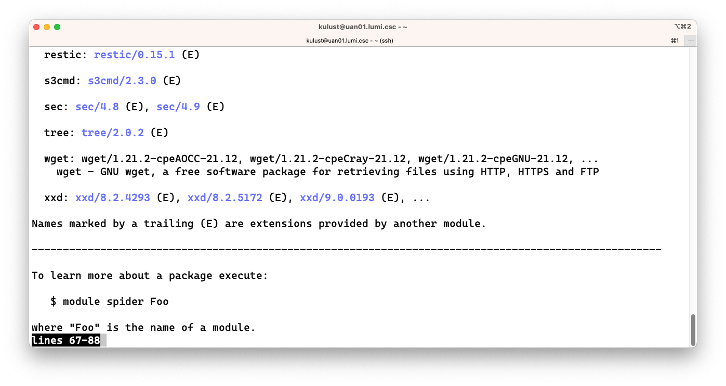
On the second screen we see, e.g., the ARMForge module which was available in just a single version
at that time, and then Autoconf where the version is in blue and followed by (E). This denotes
that the Autoconf package is actually provided as an extension of another module, and one of the next
examples will tell us how to figure out which one.
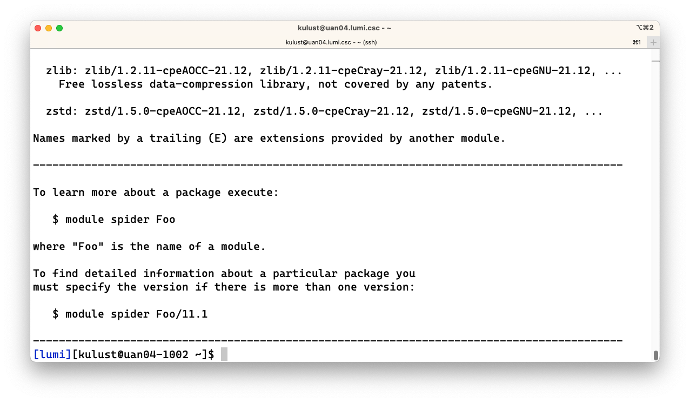
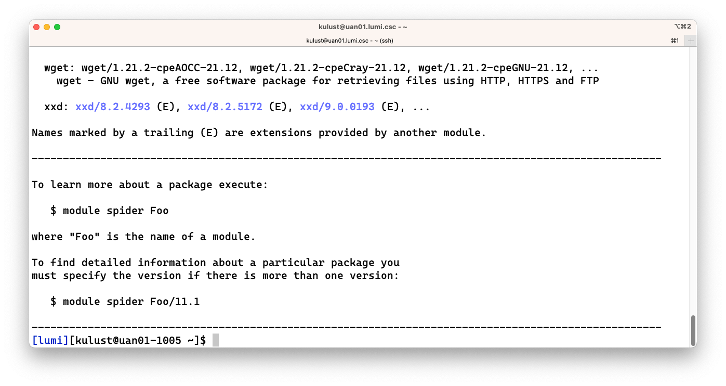
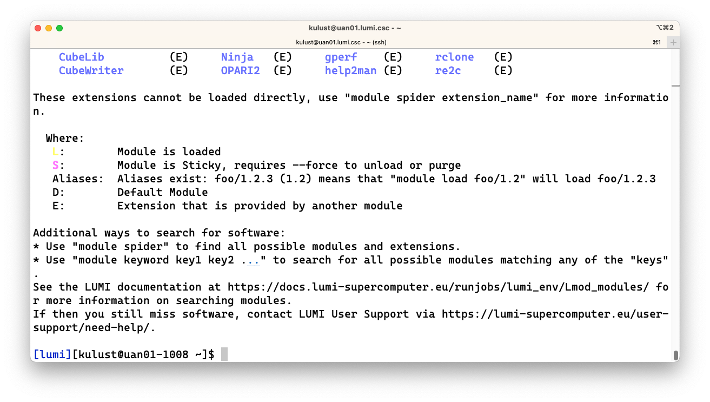
The third screen shows the last few lines of the output, which actually also shows some help information for the command.
Example 2: Searching for the FFTW module which happens to be provided by the PE
Next let us search for the popular FFTW library on LUMI:
$ module spider FFTW
produces
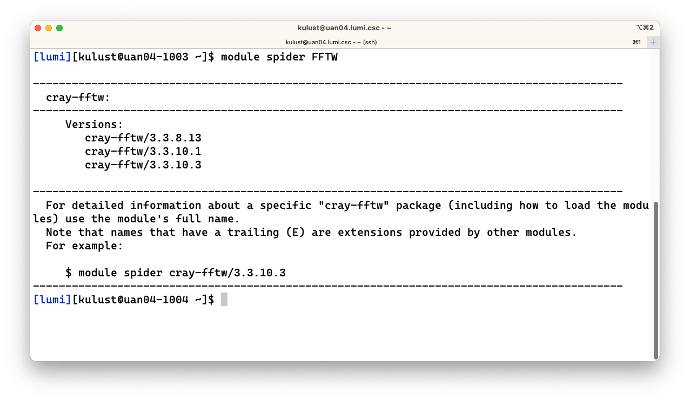
This shows that the FFTW library is actually provided by the cray-fftw module and was at the time
that this was tested available in 3 versions.
Note that (a) it is not case sensitive as FFTW is not in capitals in the module name and (b) it
also finds modules where the argument of module spider is only part of the name.
The output also suggests us to dig a bit deeper and check for a specific version, so let's run
$ module spider cray-fftw/3.3.10.3
This produces:
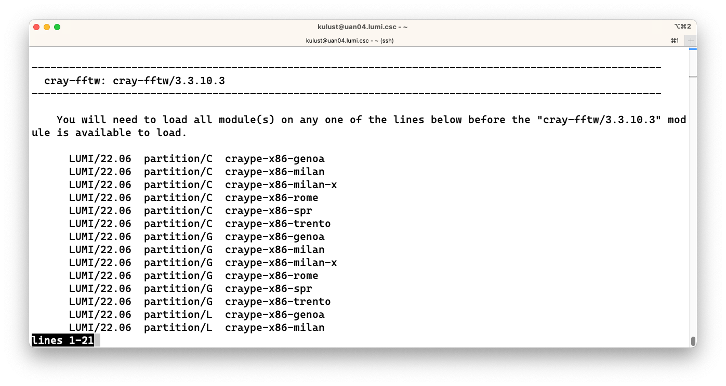
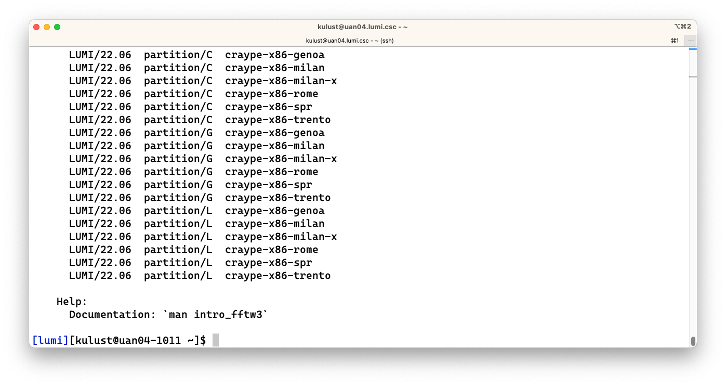
We now get a long list of possible combinations of modules that would enable us to load this module. What these modules are will be explained in the next session of this course. However, it does show a weakness when module spider is used with the HPE Cray PE. In some cases, not all possible combinations are shown (and this is the case here as the module is actually available directly after login and also via some other combinations of modules that are not shown). This is because the HPE Cray Programming Environment is system-installed and sits next to the application software stacks that are managed differently, but in some cases also because the HPE Cray PE sometimes fails to give the complete combination of modules that is needed. The command does work well with the software managed by the LUMI User Support Team as the next two examples will show.
Example 3: Searching for GNUplot
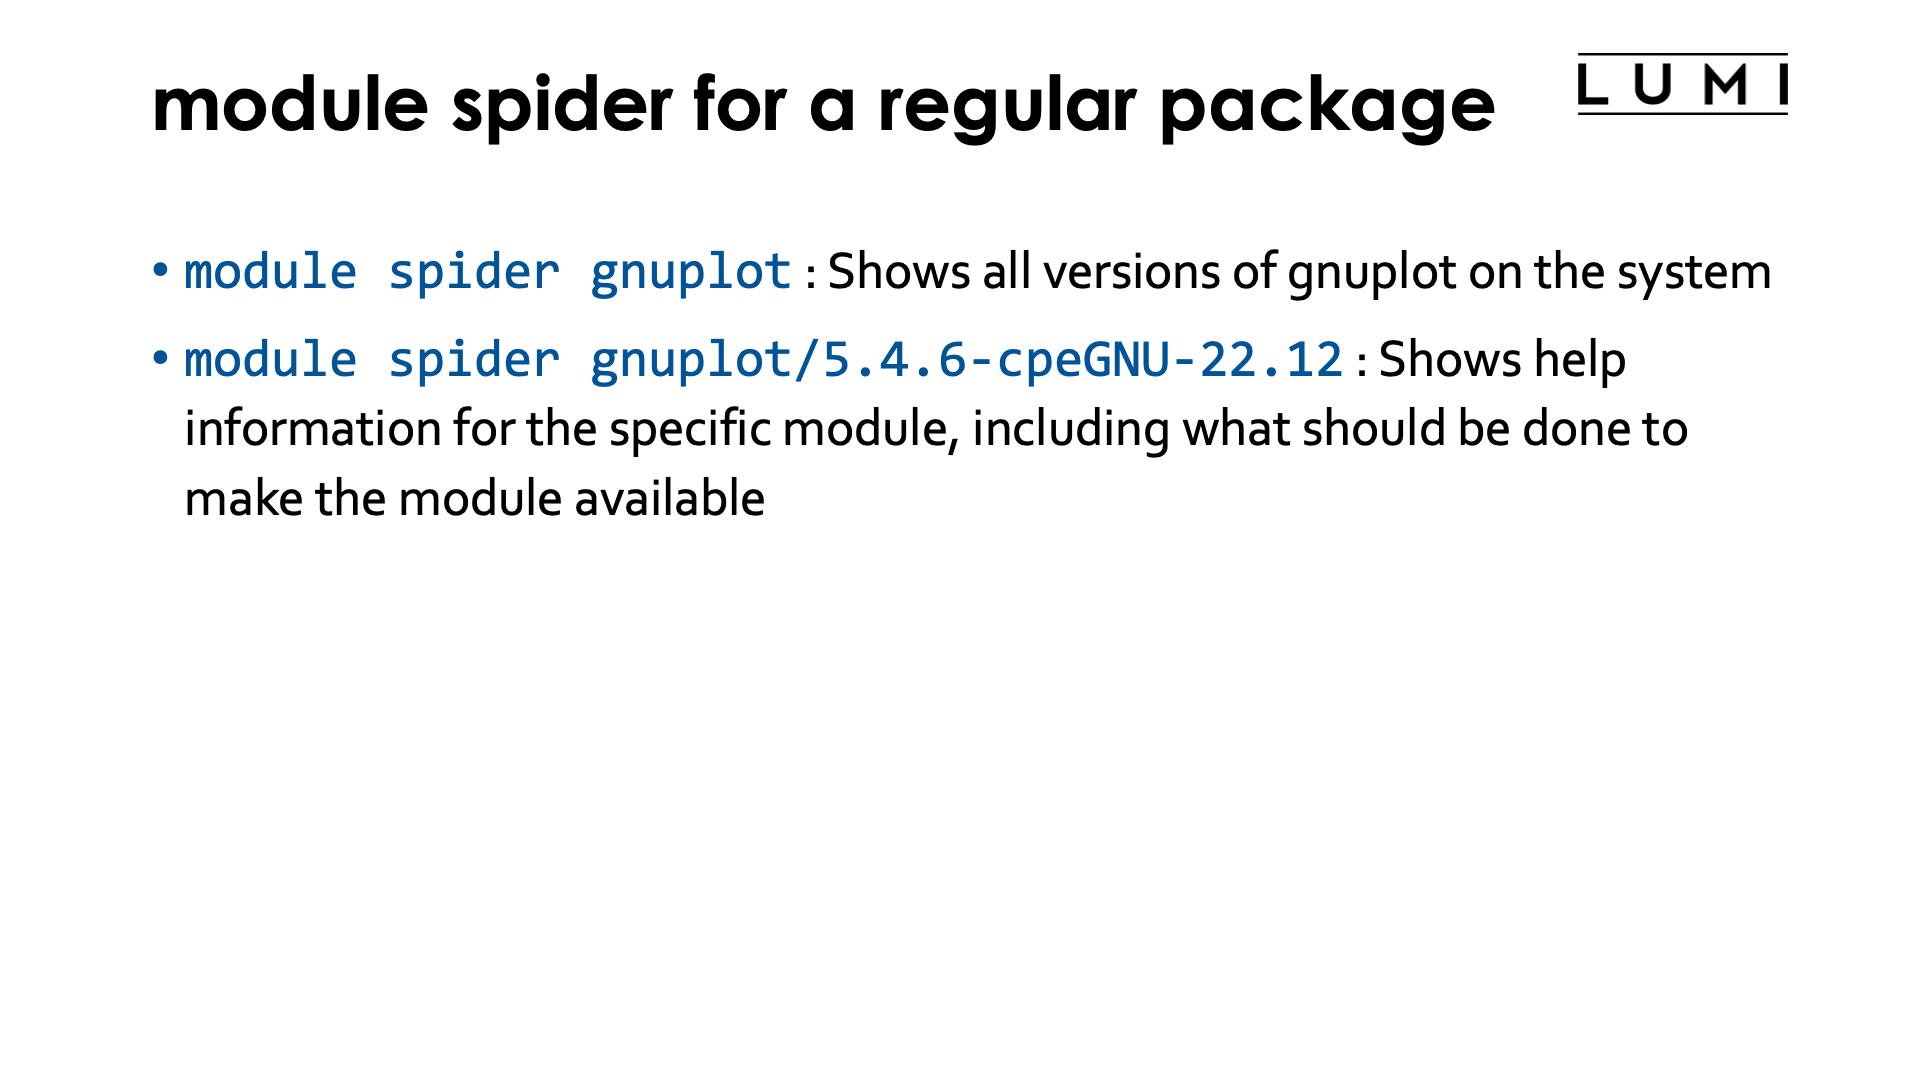
To see if GNUplot is available, we'd first search for the name of the package:
$ module spider GNUplot
This produces:
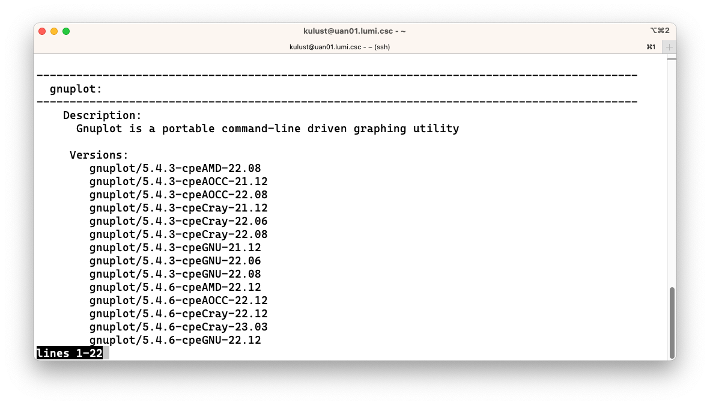
The output again shows that the search is not case sensitive which is fortunate as uppercase and lowercase letters are not always used in the same way on different clusters. Some management tools for scientific software stacks will only use lowercase letters, while the package we use for the LUMI software stacks often uses both.
We see that there are a lot of versions installed on the system and that the version actually contains more
information (e.g., -cpeGNU-22.12) that we will explain in the next part of this course. But you might of
course guess that it has to do with the compilers that were used. It may look strange to you to have the same
software built with different compilers. However, mixing compilers is sometimes risky as a library compiled
with one compiler may not work in an executable compiled with another one, so to enable workflows that use
multiple tools we try to offer many tools compiled with multiple compilers (as for most software we
don't use rpath linking which could help to solve that problem). So you want to chose the appropriate
line in terms of the other software that you will be using.
The output again suggests to dig a bit further for more information, so let's try
$ module spider gnuplot/5.4.6-cpeGNU-22.12
This produces:

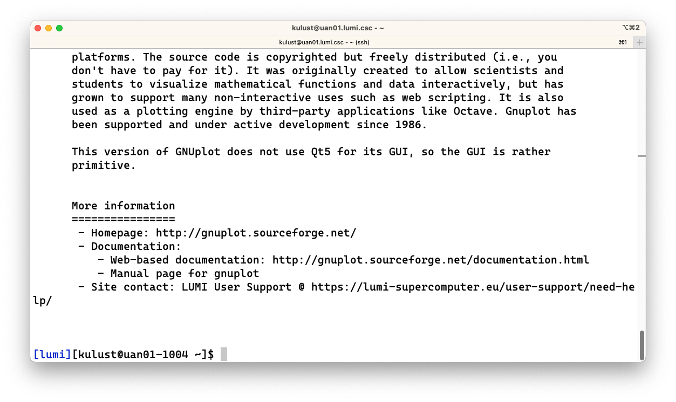
In this case, this module is provided by 3 different combinations of modules that also will be explained in the next part of this course. Furthermore, the output of the command now also shows some help information about the module, with some links to further documentation available on the system or on the web. The format of the output is generated automatically by the software installation tool that we use and we sometimes have to do some effort to fit all information in there.
For some packages we also have additional information in our LUMI Software Library web site so it is often worth looking there also.
Example 4: Searching for an extension of a module: CMake.
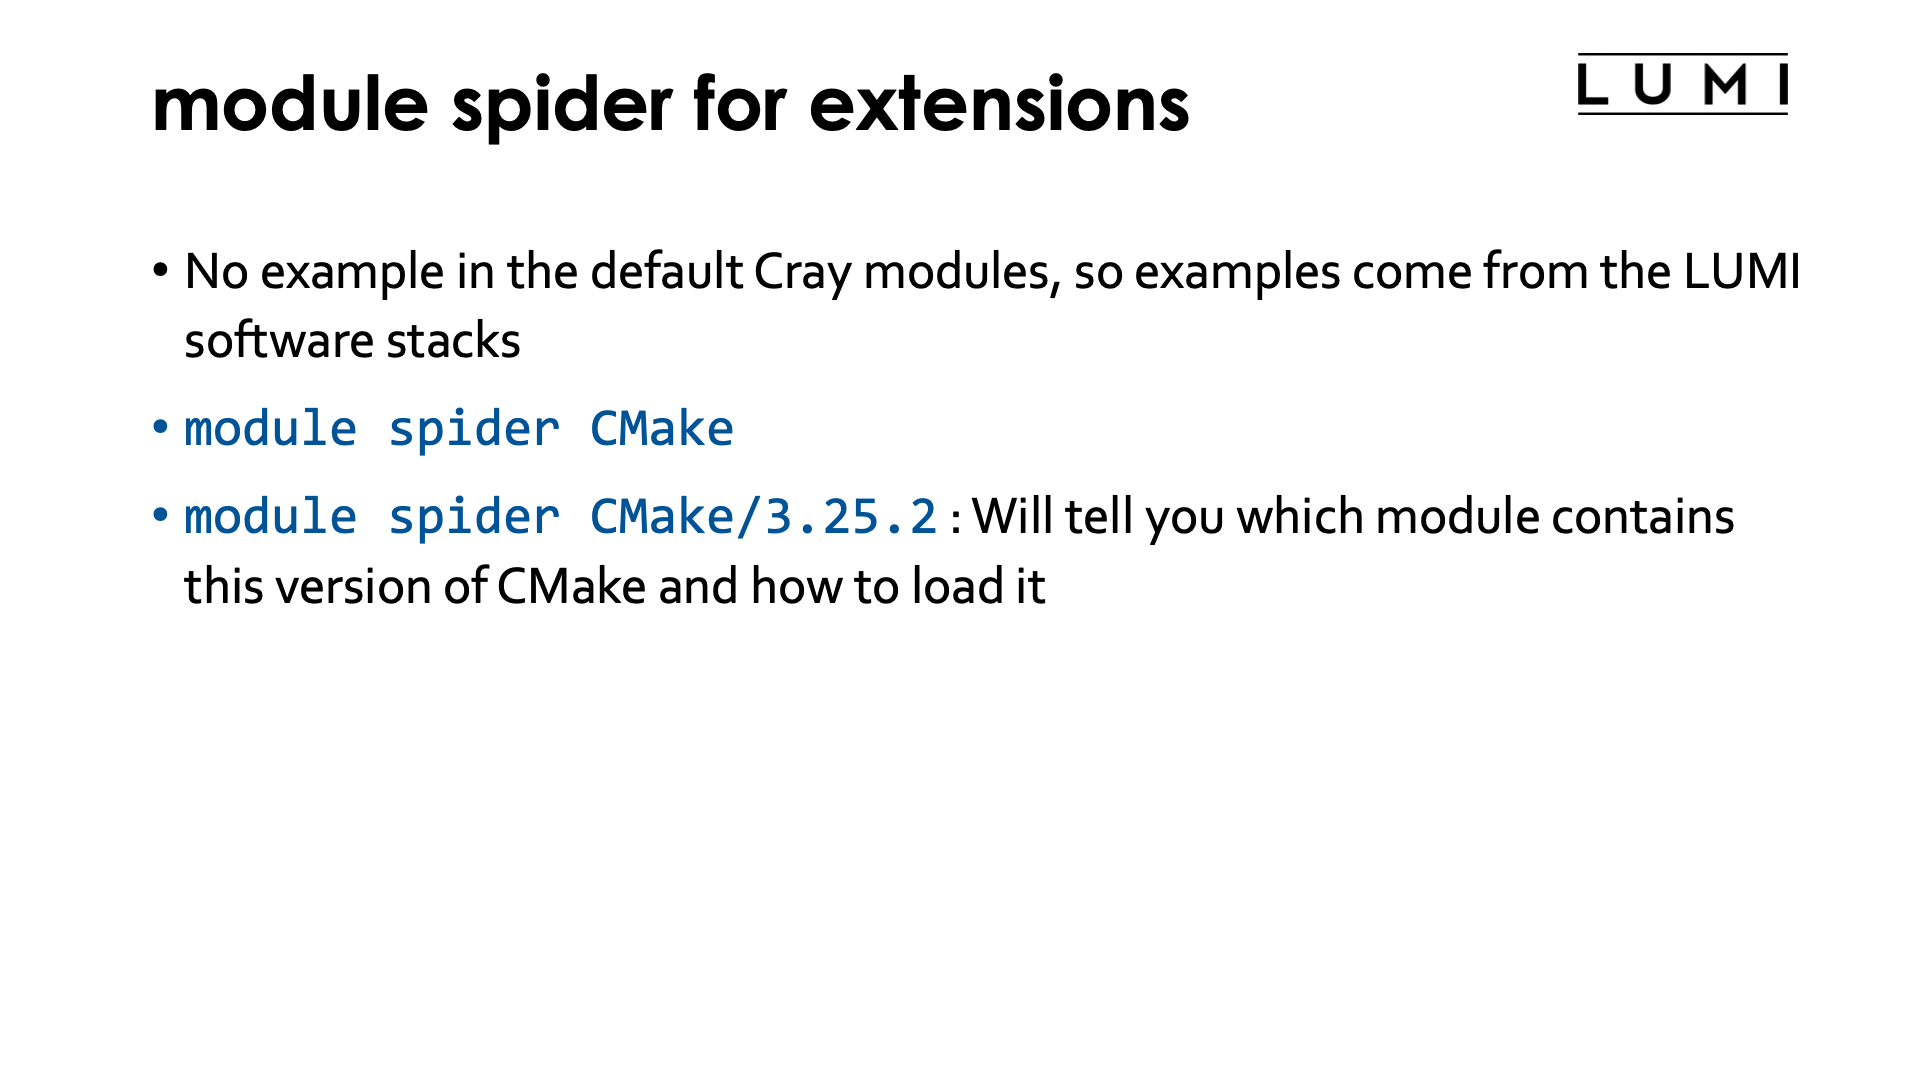
The cmake command on LUMI is available in the operating system image, but as is often the case with
such tools distributed with the OS, it is a rather old version and you may want to use a newer one.
If you would just look through the list of available modules, even after loading some other modules to
activate a larger software stack, you will not find any module called CMake though. But let's use the
powers of module spider and try
$ module spider CMake
which produces
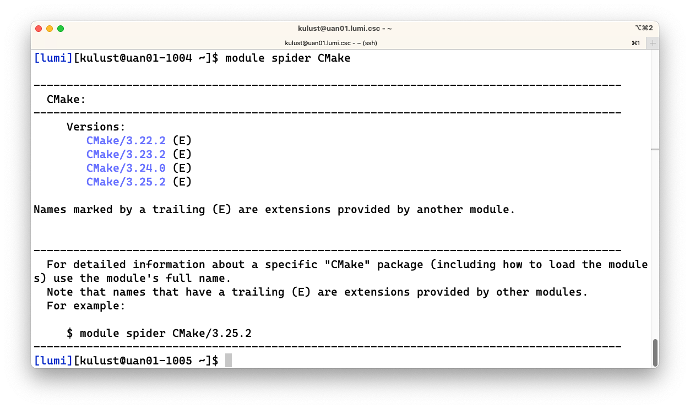
The output above shows us that there are actually four other versions of CMake on the system, but their
version is followed by (E) which says that they are extensions of other modules.
There is no module called CMake on the system.
But Lmod already tells us
how to find out which module actually provides the CMake tools. So let's try
$ module spider CMake/3.25.2
which produces

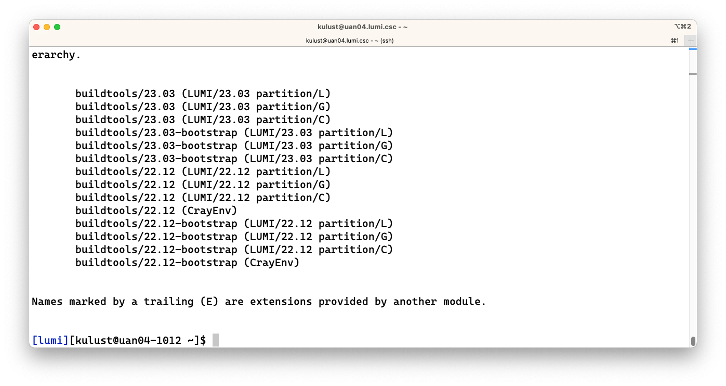
This shows us that the version is provided by a number of buildtools modules, and for each of those
modules also shows us which other modules should be loaded to get access to the commands. E.g.,
the first line tells us that there is a module buildtools/23.03 that provides that version of CMake, but
that we first need to load some other modules, with LUMI/23.03 and partition/L (in that order)
one such combination.
So in this case, after
$ module load LUMI/23.03 partition/L buildtools/23.03
the cmake command would be available.
And you could of course also use
$ module spider buildtools/23.03
to get even more information about the buildtools module, including any help included in the module.
Alternative search: the module keyword command
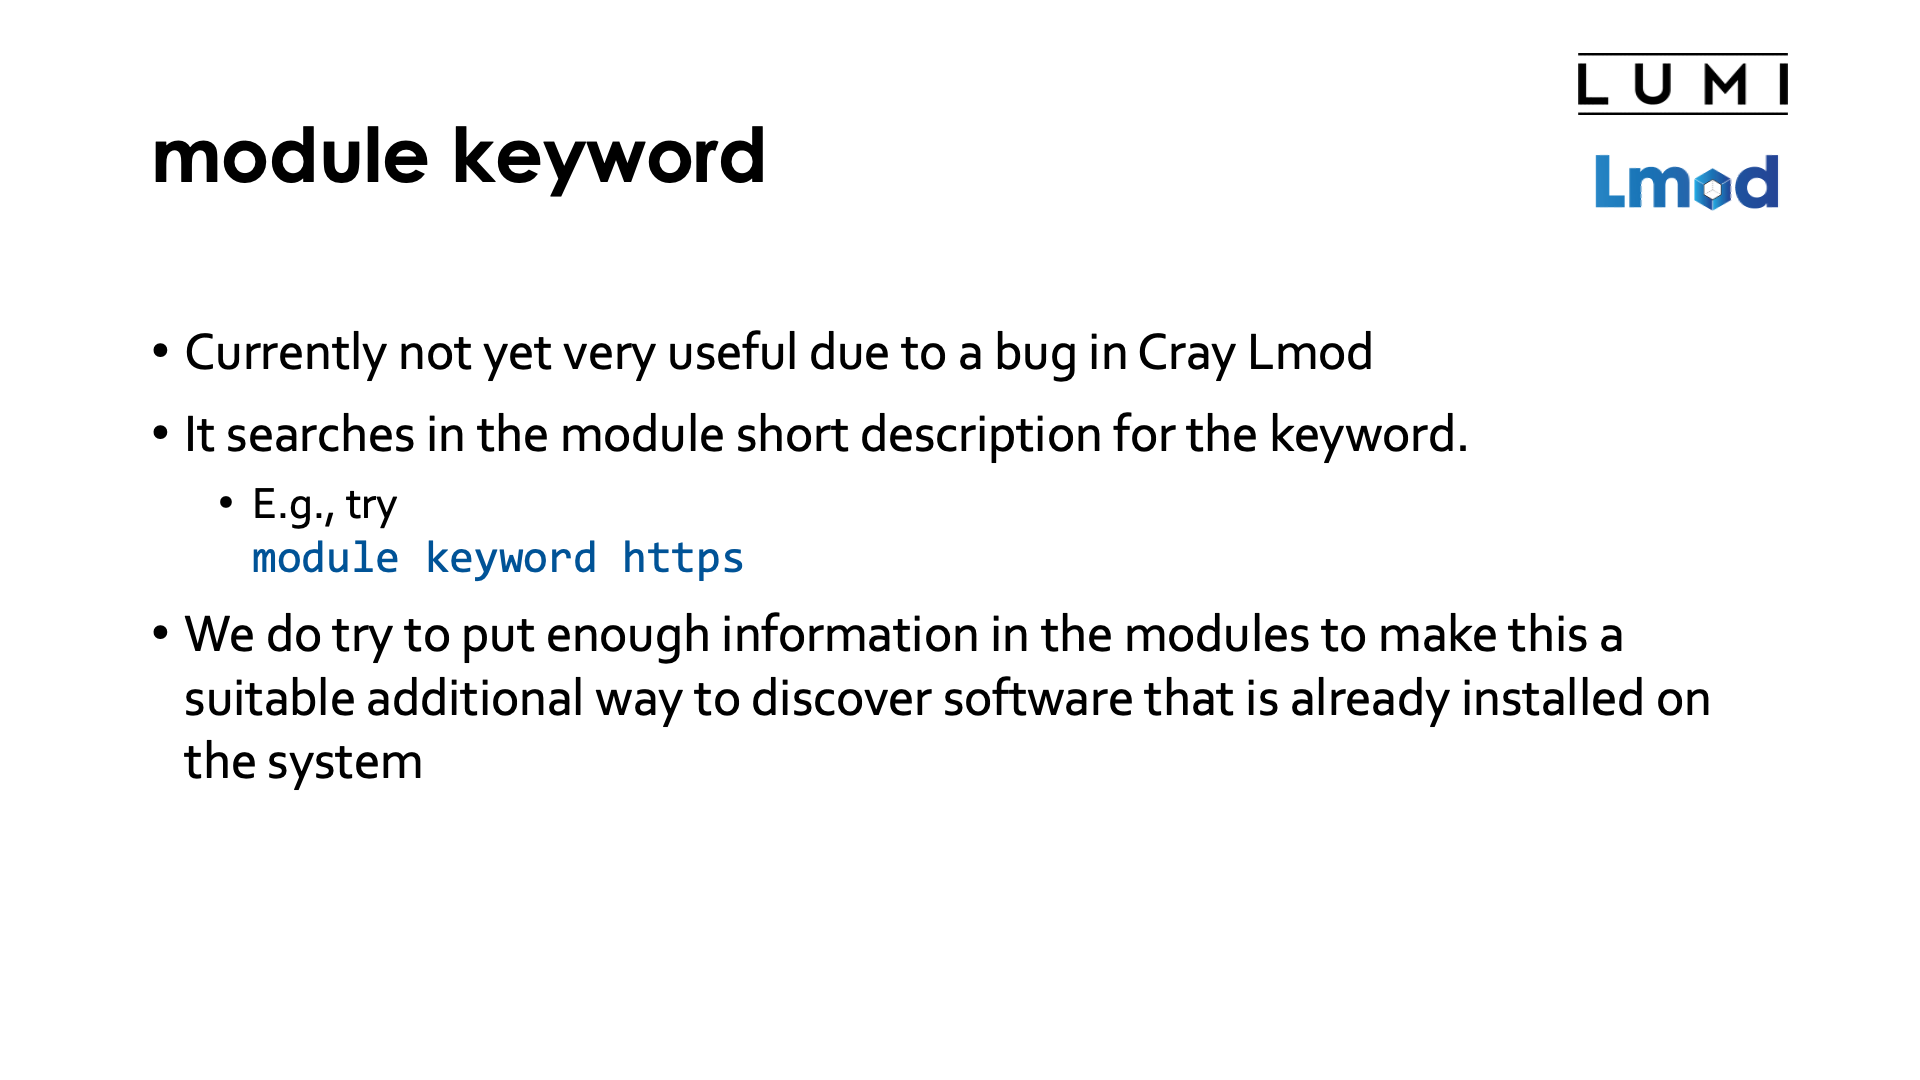
Lmod has a second way of searching for modules: module keyword, but unfortunately it does not
yet work very well on LUMI as the version of Lmod is rather old and still has some bugs in the
processing of the command.
The module keyword command searches in some of the information included in module files for the
given keyword, and shows in which modules the keyword was found.
We do an effort to put enough information in the modules to make this a suitable additional way to discover software that is installed on the system.
Let us look for packages that allow us to download software via the https protocol.
One could try
$ module keyword https
which produces a lot of output:
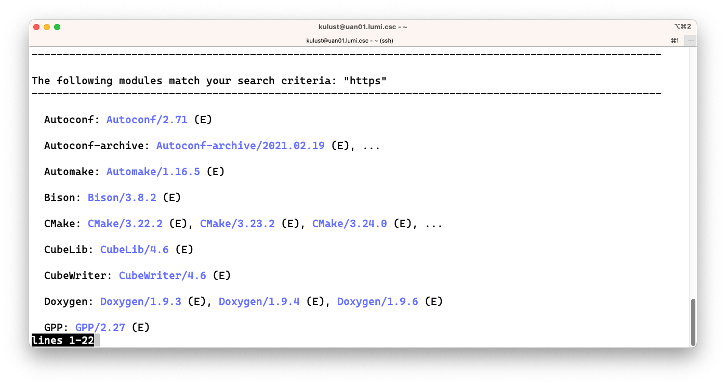
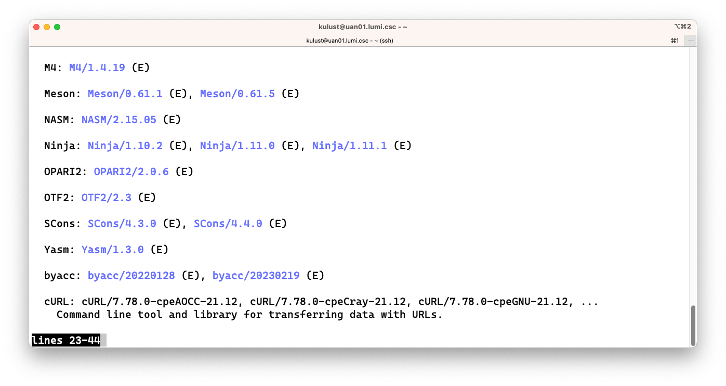
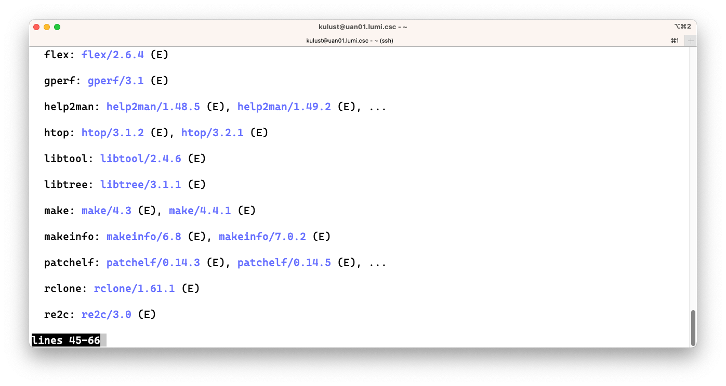
The bug in the Lmod 8.3 version on LUMI is that all extensions are shown in the output while they are
irrelevant. On the second screen though we see cURL and on the fourth screen wget which are
two tools that can be used to fetch files from the internet.
LUMI Software Library
The LUMI Software Library
also has a search box in the upper right. We will see in the next section of this course
that much of the software of LUMI is managed through a tool called EasyBuild, and each
module file corresponds to an EasyBuild recipe which is a file with the .eb extension.
Hence the keywords can also be found in the EasyBuild recipes which are included in this
web site, and from a page with an EasyBuild recipe (which may not mean much for you) it is
easy to go back to the software package page itself for more information. Hence you can use
the search box to search for packages that may not be installed on the system.
The example given above though, searching for https, would not work via that box as most
EasyBuild recipes include https web links to refer to, e.g., documentation and would be
shown in the result.
The LUMI Software Library site includes both software installed in our central software stack and software for which we make customisable build recipes available for user installation, but more about that in the tutorial section on LUMI software stacks.
Sticky modules and the module purge command
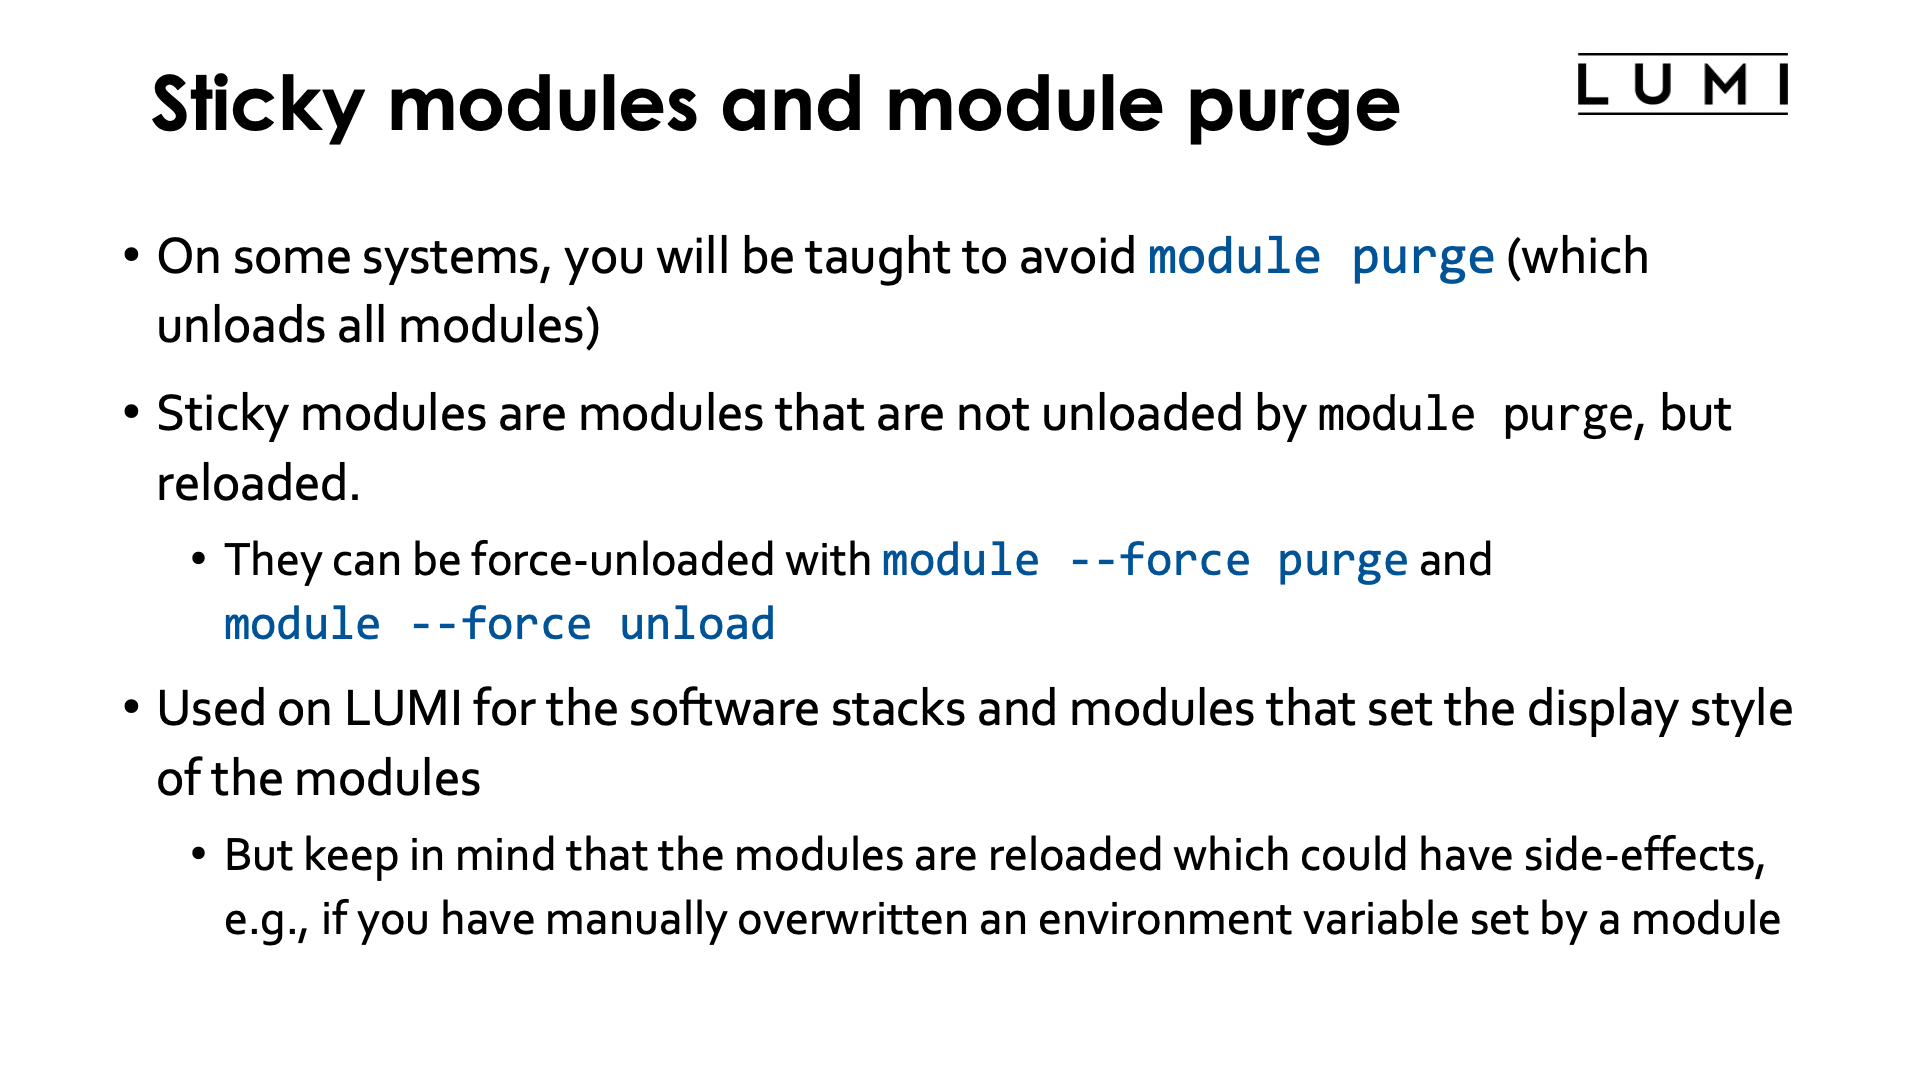
On some systems you will be taught to avoid module purge as many HPC systems do their default user
configuration also through modules. This advice is often given on Cray systems as it is a common
practice to preload a suitable set of target modules and a programming environment.
On LUMI both are used. A default programming environment and set of target modules suitable for the
login nodes is preloaded when you log in to the system, and next the init-lumi module is loaded
which in turn makes the LUMI software stacks available that we will discuss in the next session.
Lmod however has a trick that helps to avoid removing necessary modules and it is called sticky modules.
When issuing the module purge command these modules are automatically reloaded. It is very important to
realise that those modules will not just be kept "as is" but are in fact unloaded and loaded again as
we shall see later that this may have consequences. It is still possible to force unload all these modules
using module --force purge or selectively unload those using module --force unload.
The sticky property is something that is defined in the module file and not used by the module files
ot the HPE Cray Programming Environment, but we shall see that there is a partial workaround for this in
some of the LUMI software stacks. The init-lumi module mentioned above though is a sticky module, as are
the modules that activate a software stack so that you don't have to start from scratch if you have already
chosen a software stack but want to clean up your environment.
Let us look at the output of the module avail command, taken just after login on the system at the
time of writing of these notes (the exact list of modules shown is a bit fluid):
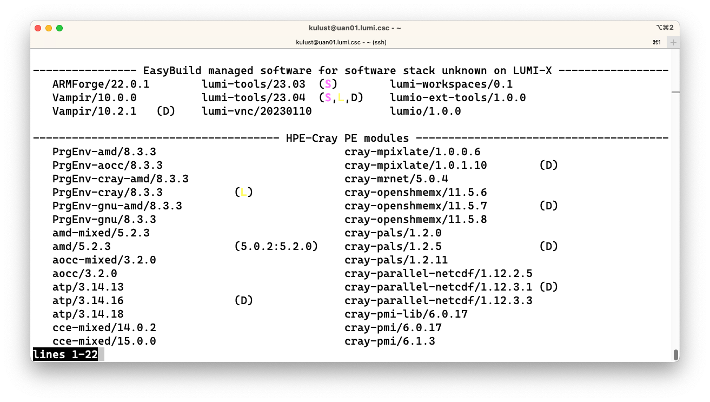

Next to the names of modules you sometimes see one or more letters.
The (D) means that that is currently the default version of the module, the one that will be loaded
if you do not specify a version. Note that the default version may depend on other modules that are already
loaded as we have seen in the discussion of the programming environment.
The (L) means that a module is currently loaded.
The (S) means that the module is a sticky module.
Next to the rocm module you see (D:5.0.2:5.2.0).
The D means that this version of the module, 5.2.3, is currently the default on
the system. The two version numbers next to this module show that the module can also
be loaded as rocm/5.0.2 and rocm/5.2.0. These are two modules that were removed
from the system during the last update of the system, but version 5.2.3 can be loaded
as a replacement of these modules so that software that used the removed modules may
still work without recompiling.
At the end of the overview the extensions are also shown. If this would be fully implemented on LUMI, the list might become very long. There is a way in Lmod to hide that output but unfortunately it does not work on LUMI yet due to another bug in the already old version of Lmod.
Changing how the module list is displayed
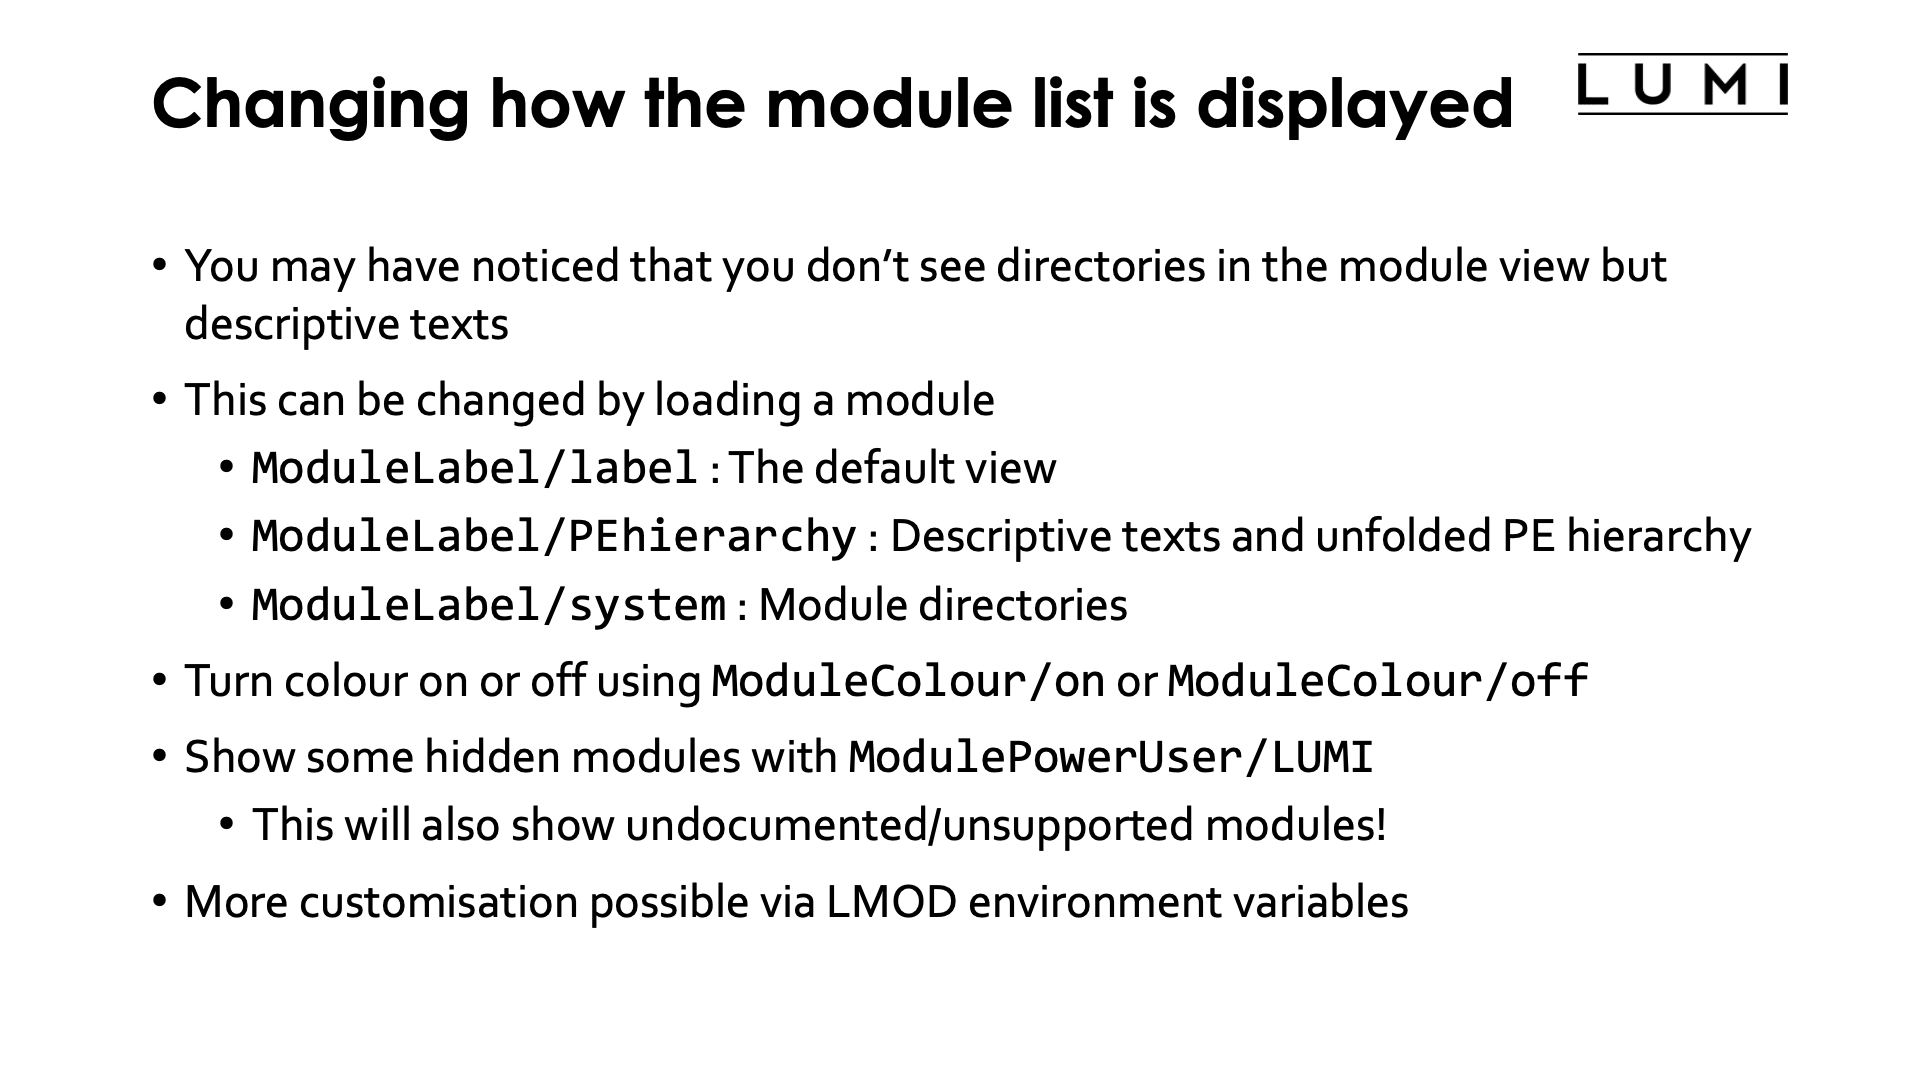
You may have noticed in the above example that we don't show directories of module files
in the overview (as is the case on most clusters) but descriptive texts about the module group.
This is just one view on the module tree though, and it can be changed easily by loading a
version of the ModuleLabel module.
ModuleLabel/labelproduces the default view of the previous exampleModuleLabel/PEhierarchystill uses descriptive texts but will show the whole module hierarchy of the HPE Cray Programming Environment.ModuleLabel/systemdoes not use the descriptive texts but shows module directories instead.
When using any kind of descriptive labels, Lmod can actually bundle module files from different
directories in a single category and this is used heavily when ModuleLabel/label is loaded
and to some extent also when ModuleLabel/PEhierarchy is loaded.
It is rather hard to provide multiple colour schemes in Lmod, and as we do not know how your
terminal is configured it is also impossible to find a colour scheme that works for all
users. Hence we made it possible to turn on and off the use of colours by Lmod through
the ModuleColour/on and ModuleColour/off modules.
In the future, as soon as we have a version of Lmod where module extensions function properly,
we will also provide a module to turn on and off the display of extension in the output of
module avail .
We also hide some modules from regular users because we think they are not useful at all for regular
users or not useful in the context you're in at the moment.
You can still load them if you know they exist and specify the full version but
you cannot see them with module available. It is possible though to still show most if not all of
them by loading ModulePowerUser/LUMI. Use this at your own risk however, we will not help you to make
things work if you use modules that are hidden in the context you're in
or if you try to use any module that was designed for us to maintain the system and is therefore hidden
from regular users.
Example
An example that will only become clear in the next session: When working with the software stack
called LUMI/22.08, which is built upon the HPE Cray Programming Environment version 22.08,
all (well, most) of the modules corresponding to other version of the Cray PE are hidden.
Getting help with the module help command
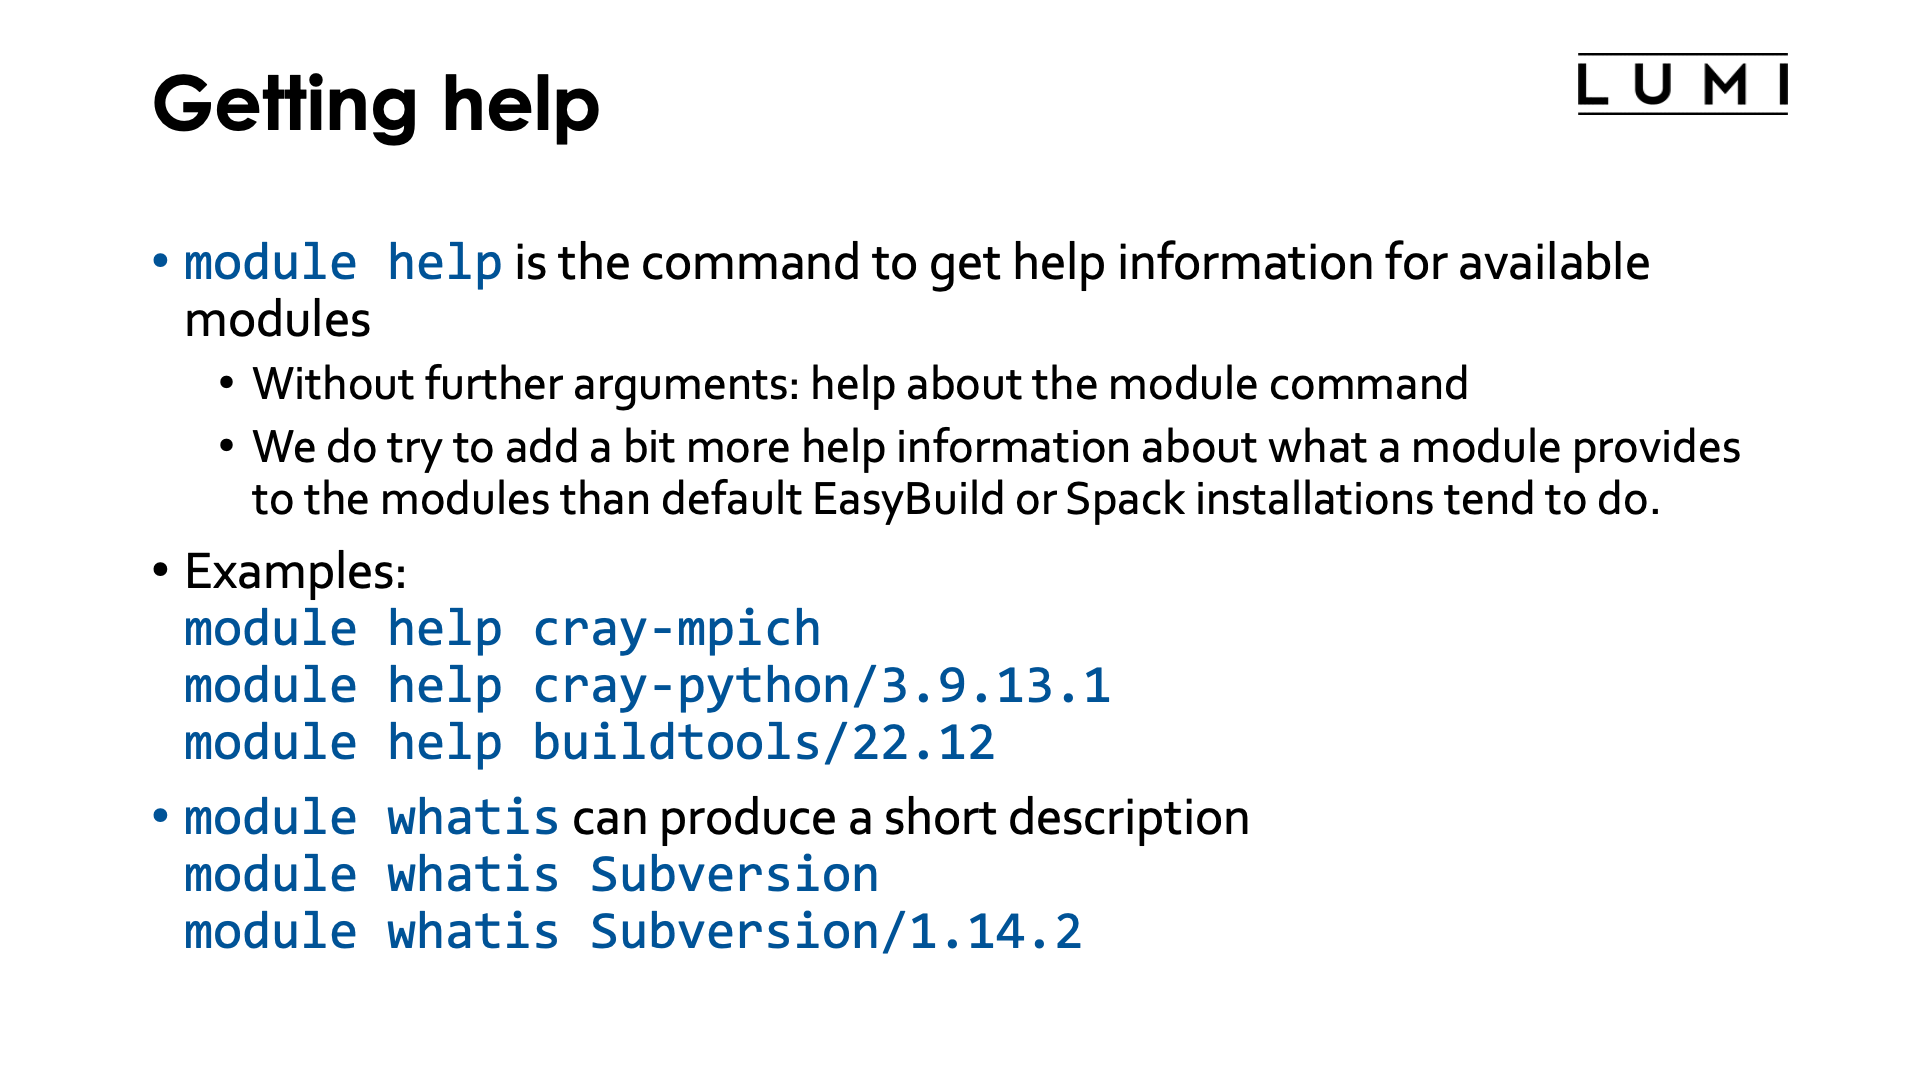
Lmod has the module help command to get help on modules
$ module help
without further arguments will show some help on the module command.
With the name of a module specified, it will show the help information for the default version of that
module, and with a full name and version specified it will show this information specifically for that
version of the module. But note that module help can only show help for currently available modules.
Try, e.g., the following commands:
$ module help cray-mpich
$ module help cray-python/3.9.13.1
$ module help buildtools/22.12
Lmod also has another command that produces more limited information (and is currently not fully exploited
on LUMI): module whatis. It is more a way to tag a module with different kinds of information, some of
which has a special meaning for Lmod and is used at some places, e.g., in the output of module spider without
arguments.
Try, e.g.,:
$ module whatis Subversion
$ module whatis Subversion/1.14.2
A note on caching
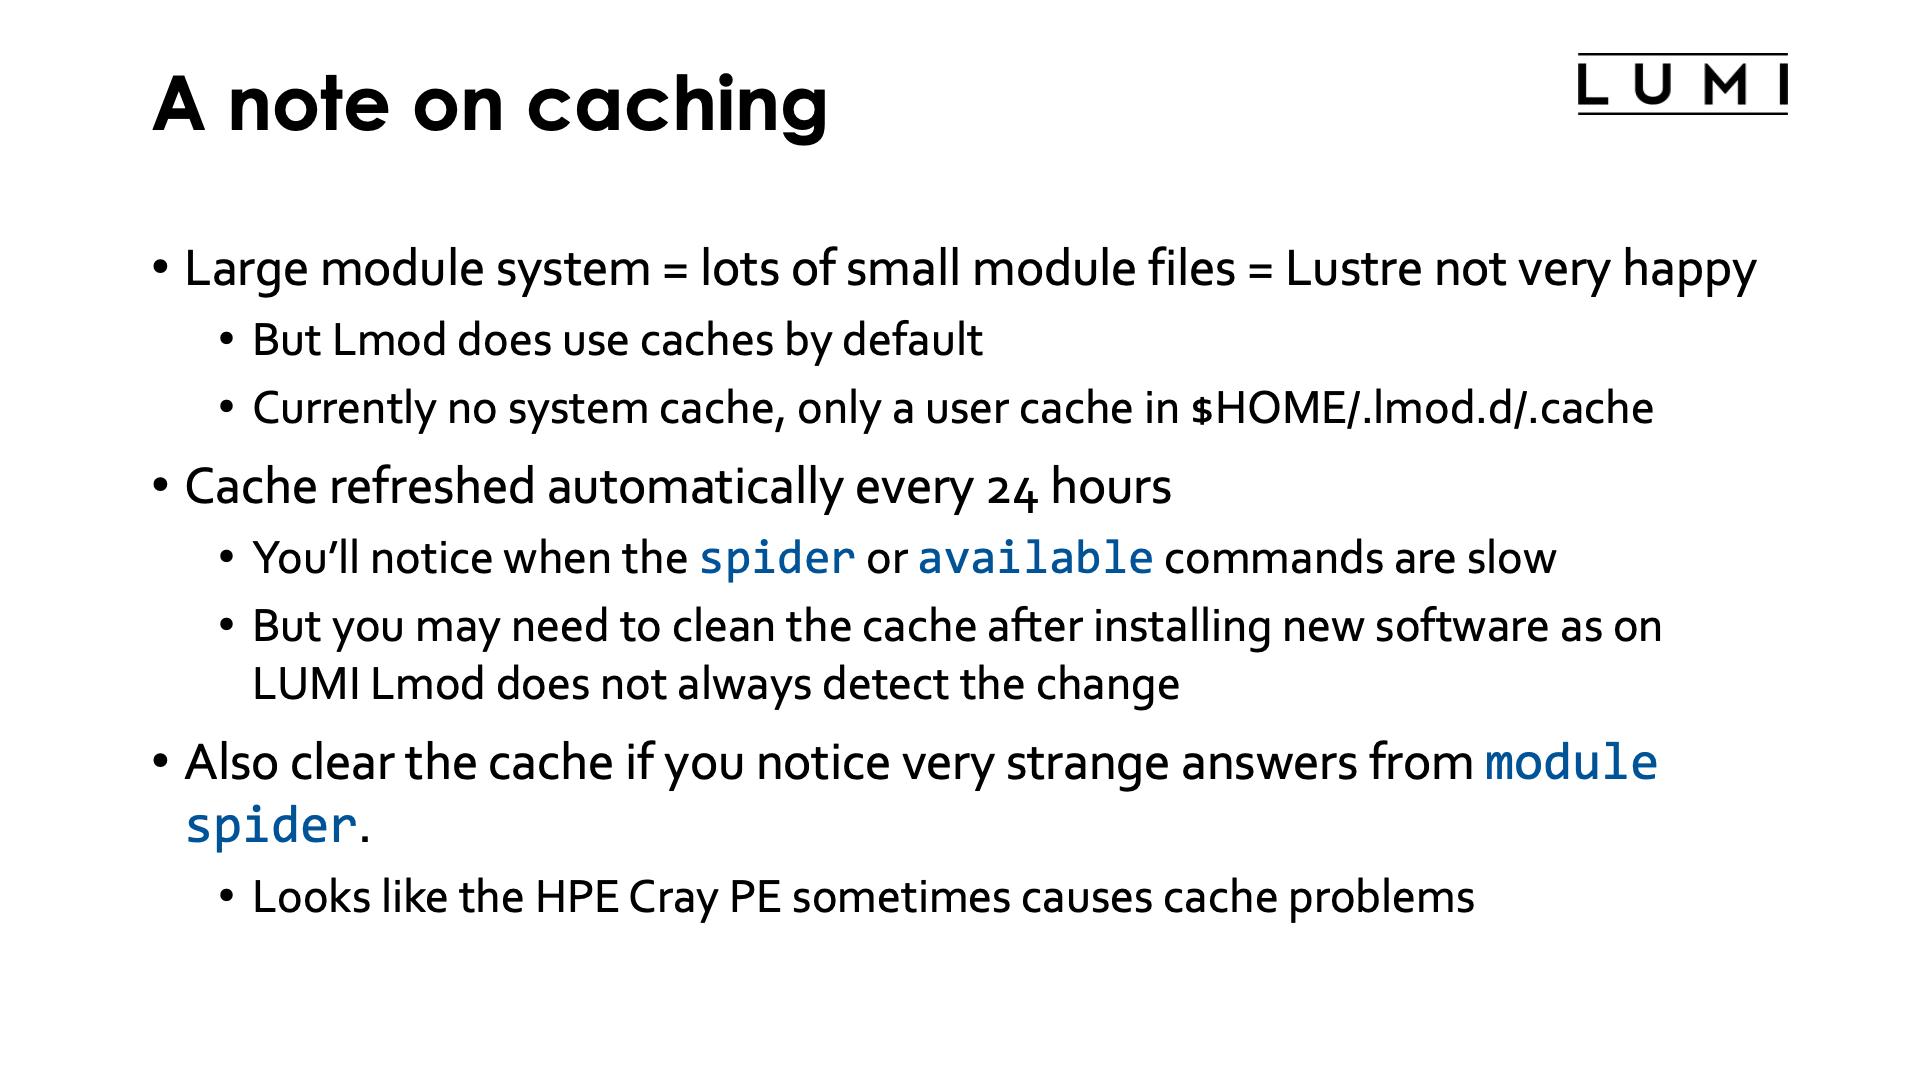
Modules are stored as (small) files in the file system. Having a large module system with
much software preinstalled for everybody means a lot of small files which will make
our Lustre file system very unhappy.
Fortunately Lmod does use caches by default. On LUMI we currently have no
system cache and only a user cache. That cache can be found in $HOME/.lmod.d/.cache.
That cache is also refreshed automatically every 24 hours. You'll notice when this happens as,
e.g., the module spider and module available commands will be slow during the rebuild.
you may need to clean the cache after installing new software as on LUMI Lmod does not
always detect changes to the installed software,
Sometimes you may have to clear the cache also if you get very strange answers from
module spider. It looks like the non-standard way in which the HPE Cray Programming
Environment does certain things in Lmod can cause inconsistencies in the cache.
This is also one of the reasons whey we do not yet have a central cache for that
software that is installed in the central stacks as we are not sure when that cache is
in good shape.
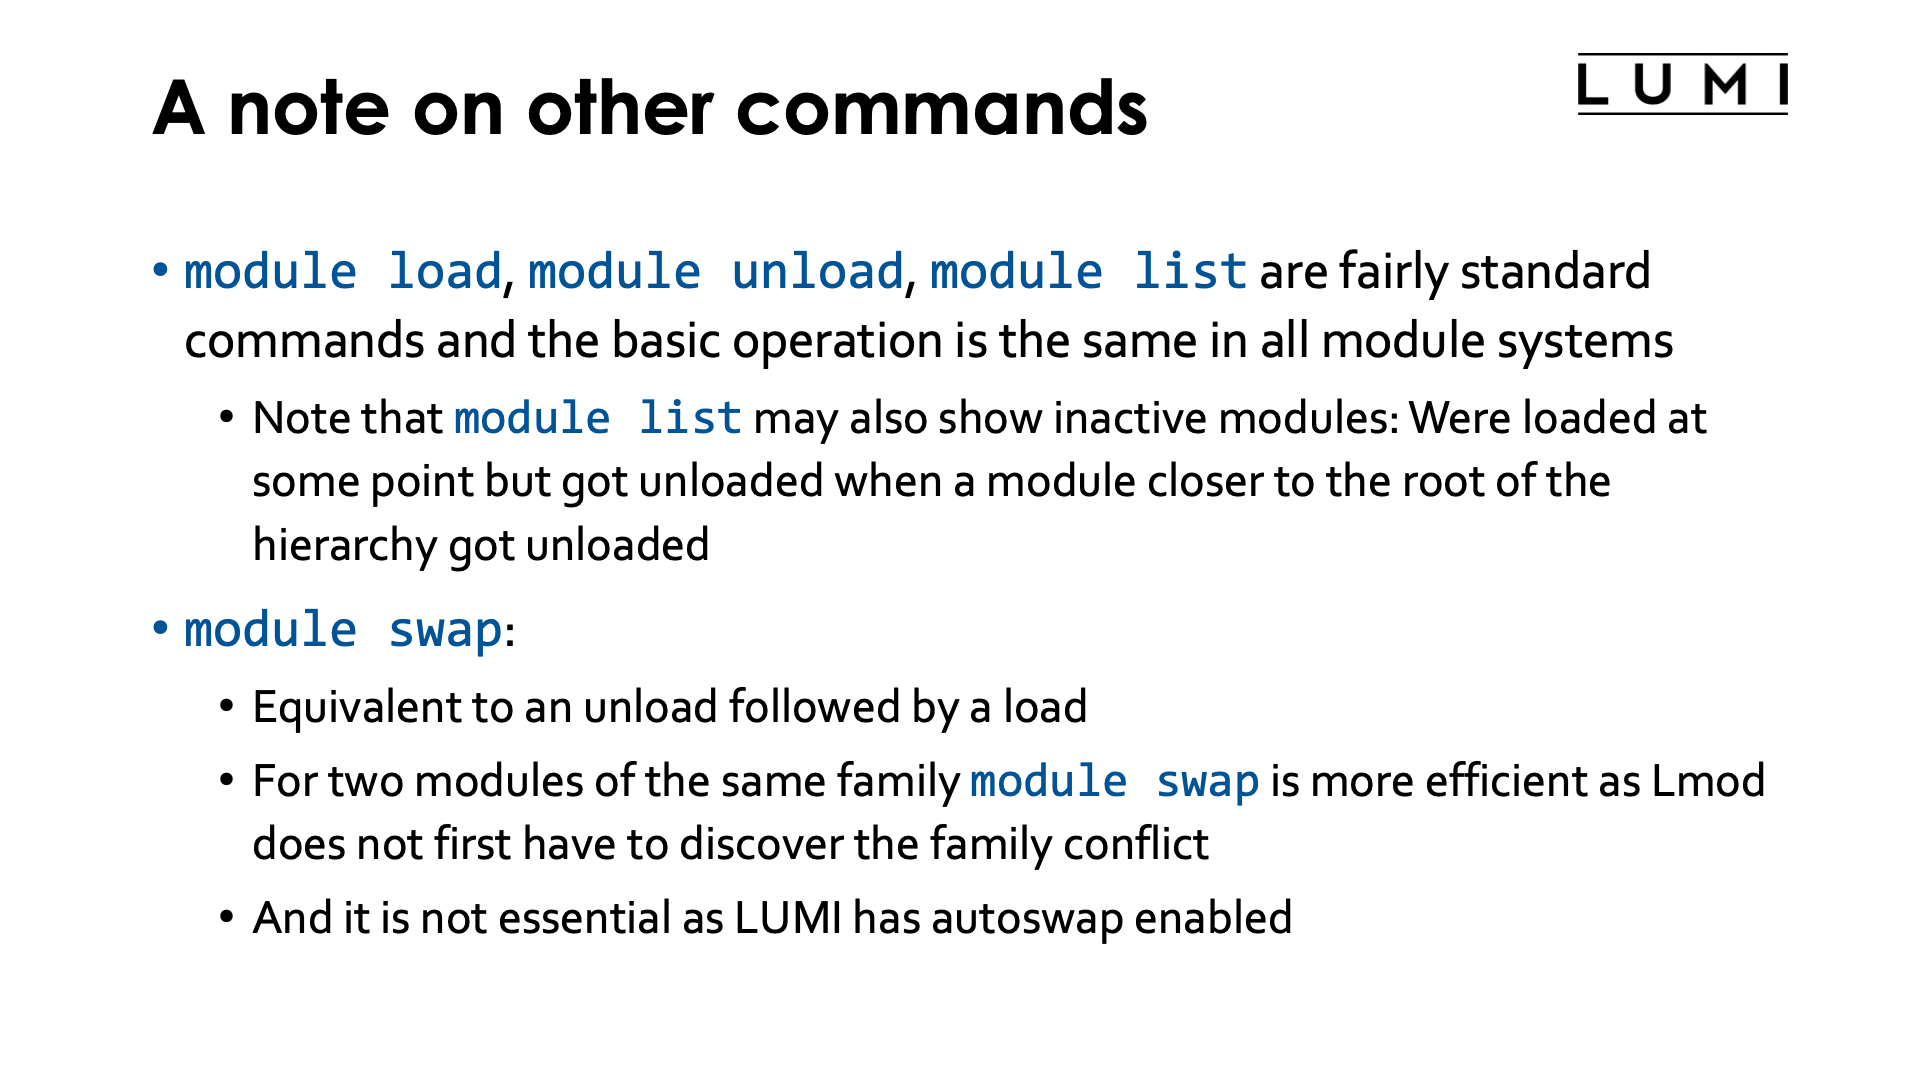
A note on other commands
As this tutorial assumes some experience with using modules on other clusters, we haven't paid
much attention to some of the basic commands that are mostly the same across all three
module environments implementations.
The module load, module unload and module list commands work largely as you would expect,
though the output style of module list may be a little different from what you expect.
The latter may show some inactive modules. These are modules that were loaded at some point,
got unloaded when a module closer to the root of the hierarchy of the module system got unloaded,
and they will be reloaded automatically when that module or an equivalent (family or name) module
is loaded that makes this one or an equivalent module available again.
Example
To demonstrate this, try in a fresh login shell (with the lines starting with a $ the commands that you should
enter at the command prompt):
$ module unload craype-network-ofi

Inactive Modules:
  1) cray-mpich

$ module load craype-network-ofi

Activating Modules:
  1) cray-mpich/8.1.23
The cray-mpich module needs both a valid network architecture target module to be loaded
(not craype-network-none) and a compiler module. Here we remove the network target module
which inactivates the cray-mpich module, but the module gets reactivated again as soon
as the network target module is reloaded.
The module swap command is basically equivalent to a module unload followed by a module load.
With one argument it will look for a module with the same name that is loaded and unload that one
before loading the given module. With two modules, it will unload the first one and then load the
second one. The module swap command is not really needed on LUMI as loading a conflicting module
(name or family) will automatically unload the previously loaded one. However, in case of replacing
a module of the same family with a different name, module swap can be a little faster than just
a module load as that command will need additional operations as in the first step it will
discover the family conflict and then try to resolve that in the following steps (but explaining
that in detail would take us too far in the internals of Lmod).
Links
These links were OK at the time of the course. This tutorial will age over time though and is not maintained but may be replaced with evolved versions when the course is organised again, so links may break over time.
- Lmod documentation and more specifically the User Guide for Lmod which is the part specifically for regular users who do not want to design their own modules.
- Information on the module environment in the LUMI documentation